
Hiking the Emerald Pools Trail in Zion National Park

The Emerald Pools Trail is one of the most popular short hikes in Zion National Park, often recommended to first-time visitors looking for something scenic without committing to a full day on the trail. Starting near Zion Lodge, it’s easy to access, clearly signposted, and provides a great introduction to the park.
The Emerald Pools are a series of three natural pools staggered at different heights, creatively named Lower Emerald Pool, Middle Emerald Pool, and Upper Emerald Pool. This hike will take you to all three, as well as showcasing impressive views across the Virgin River and the surrounding canyon. For a reasonably low-effort walk, you get a really decent payoff.
This guide to the Emerald Pools Trail is based on my personal experience hiking the trail during a dry summer visit (late July). Read on for a detailed breakdown of the trail, what I experienced at each pool, how to get to the trailhead, and more.
Emerald Pools Trail quick logistics
Start/Finish: The Emerald Pools Trail starts and ends at Zion Lodge.
How to get there: You can reach Zion Lodge via the Zion Canyon Shuttle (Shuttle Stop 5) for most of the year. The trail is clearly sign-posted from the lodge.
Distance: 3 miles (4.8km) return.
Time: 1 – 2 hours.
Elevation Gain: 200ft (60m).
Difficulty: Easy to moderate. The trail is well-maintained with a gradual climb, though it can feel harder in high temperatures.
Best for: First-time visitors; people looking for a short but varied walk.
Emerald Pools Trail map
The Emerald Pools Trail is well-signposted and easy to follow, but it’s worth looking at a map before you set off so you can see how the trail splits and how far each section goes. The route begins at Zion Lodge and climbs steadily, with short spurs branching off to the Lower, Middle, and Upper Emerald Pools.
While this trail is circular, I would really recommend hiking clockwise so that you see the pools in order of impressiveness: lower first, then middle, and then upper last.
Entry fees and permits
You don’t need a permit to hike the Emerald Pools Trail, but you do need to pay the standard Zion National Park entrance fee. At the time of writing, that’s $35 per vehicle, $20 per person on foot, or free with an America the Beautiful Pass.
As of January 2026, foreign visitors must now pay an additional $100 fee to enter Zion.
There’s nothing to reserve in advance for this hike, and no timed entry or lottery system to worry about. Once you’re inside the park, you can hike Emerald Pools whenever you’re ready. Compared to some of Zion’s headline hikes that require permits (such as Angel’s Landing), this one is logistically straightforward.
Getting to the Emerald Pools trailhead
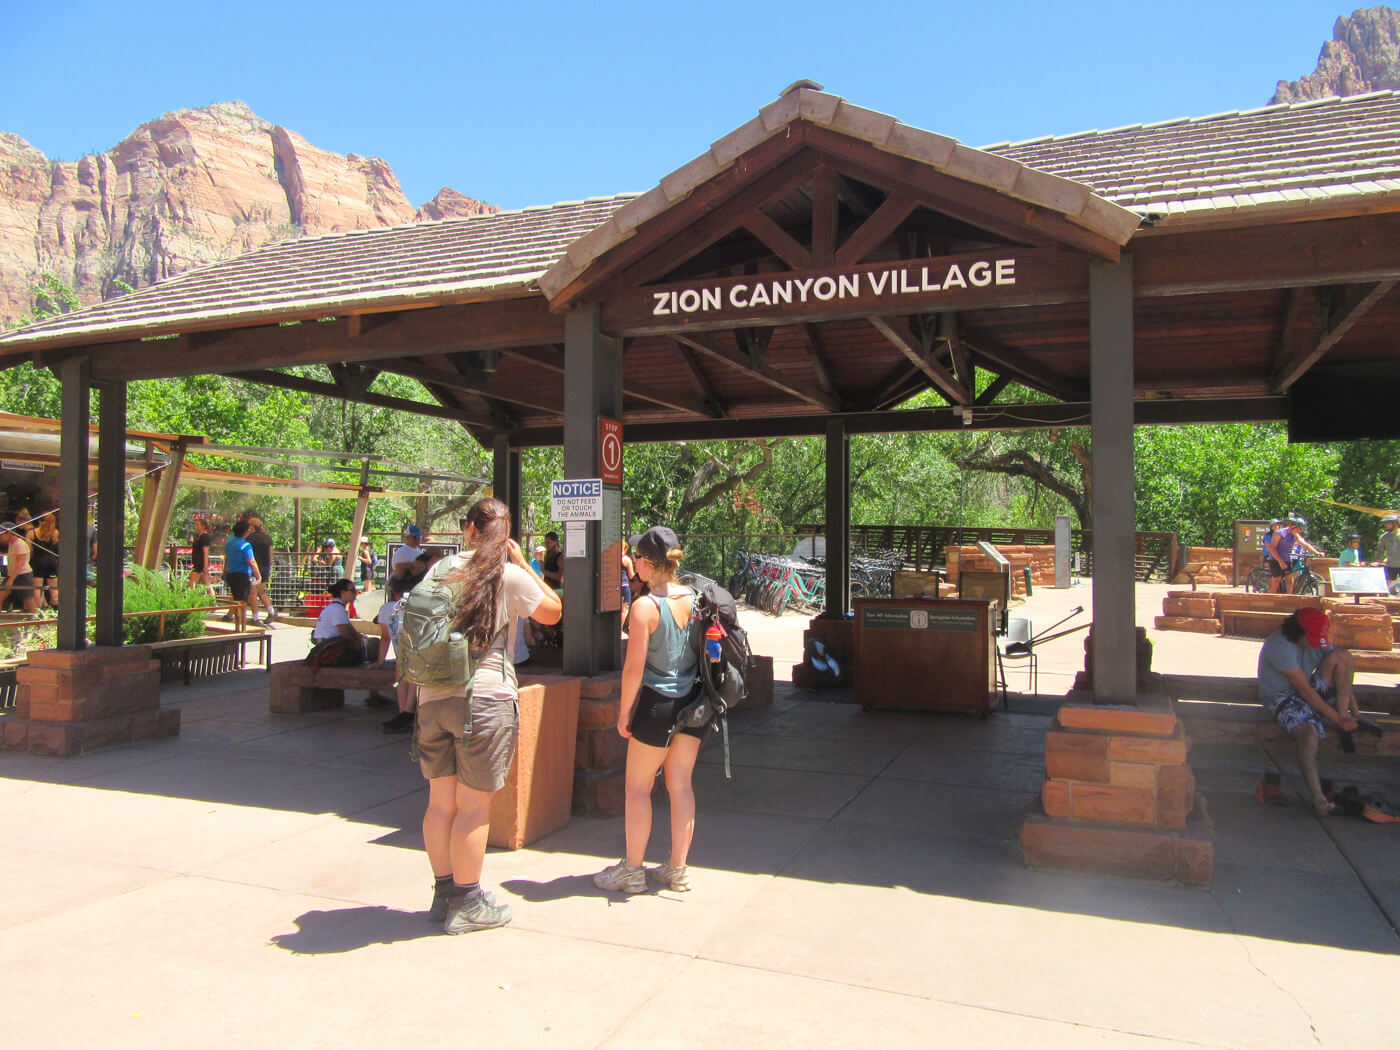
The Emerald Pools Trail starts at Zion Lodge, located in the middle of Zion Canyon. For most of the year, private vehicles aren’t allowed on the Scenic Drive, so the easiest way to reach the trailhead is by using the Zion Canyon Shuttle.
Get off at the Zion Lodge stop (Shuttle Stop 5). From there, the trail begins just behind the lodge and is clearly signposted. It’s a short walk from the shuttle stop to the start of the path, and you shouldn’t need navigation to find it. You can check the timetable for the Zion Canyon Shuttle here.
I recommend taking advantage of the restrooms and water refill stations at Zion Lodge, as there’s no drinking water available once you’re on the trail itself.
Hiking the Emerald Pools Trail
The Emerald Pools Trail begins just behind Zion Lodge, following a wide, well-maintained path. It should be easy to spot the trailhead, but you can refer to this map if needed.
After crossing a footbridge over the Virgin River, the path follows a paved, gently climbing trail that runs along the canyon wall.
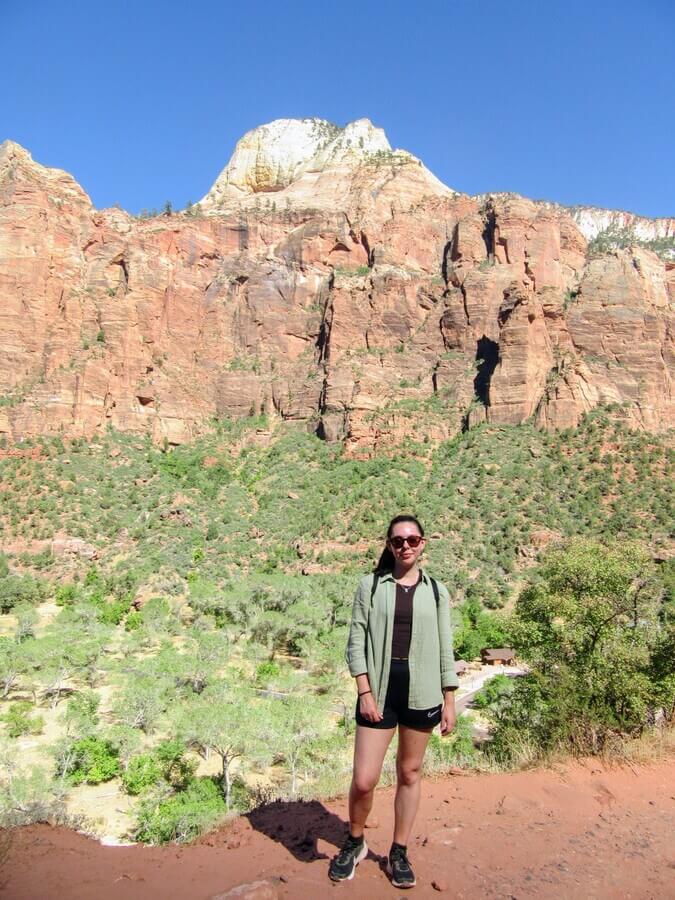
I hiked the Emerald Pools Trail in late July, when it was a toasty 96°F (35°C). At first, I genuinely wondered whether we’d picked the wrong trail for the heat, as the first bit had very little shade. But as the path climbed and the canyon walls closed in, the shade became more consistent, and the heat much more manageable.
It’s about 0.6 miles from the trailhead to Lower Emerald Pool, and it took us roughly 20 minutes.
Lower Emerald Pool
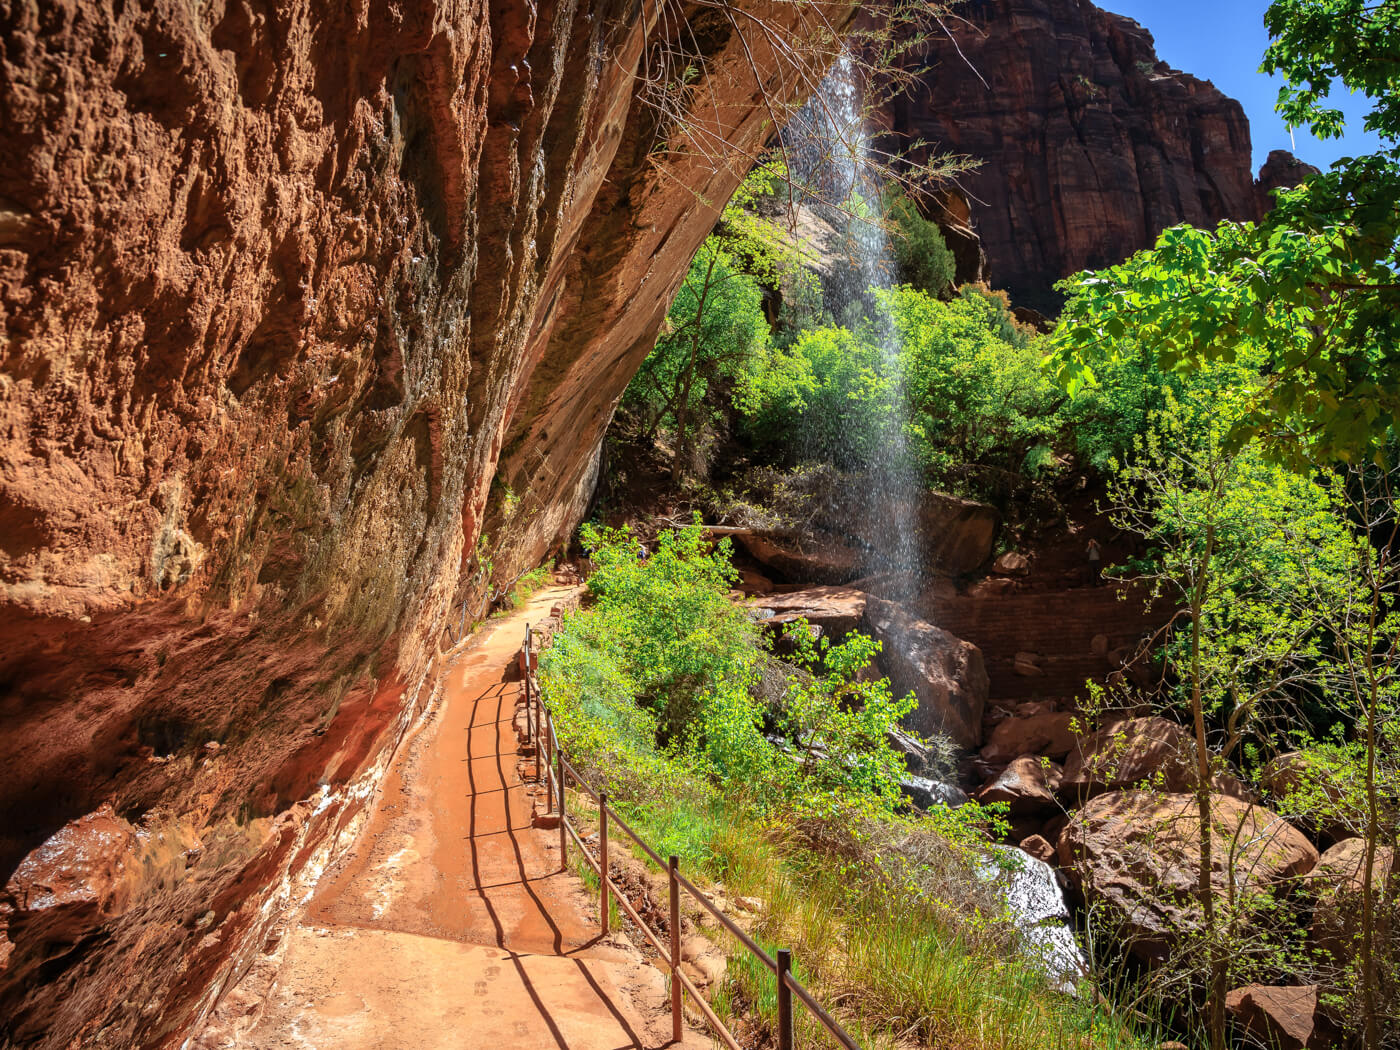
Lower Emerald Pool sits beneath a rock alcove where water spills over the cliff above after rain or snowmelt. When I visited, this “waterfall” was more of a trickle, and the pool itself was very shallow and somewhat underwhelming. In wetter conditions, I imagine this would have been a far more impressive sight.
It’s an easy stop and worth a look if you’re passing through, but on a dry summer day, it wasn’t a highlight. That being said, the surrounding canyon and scenery were stunning, so it didn’t disappoint me too much. The sheer scale of the walls around you makes the stop worth it, water or no water.
Middle Emerald Pool
From Lower Emerald Pool, the trail becomes narrower and more rugged as it climbs toward Middle Emerald Pool. The path pulls away from the lower pool and opens out, with views back across the canyon as you gain some height.
About 0.4 miles beyond the lower pool, you’ll reach Middle Emerald Pool. Shortly after leaving the lower pool, there’s also signage pointing to a side trail connecting to The Grotto and the Kayenta Trail. Keep an eye out for this Kayenta Trail junction, as you’ll return here later to complete the loop.
For me, Middle Emerald Pool was nice, but again, the lack of water flow made the pool itself feel less dramatic than its name suggests. This was the point where it became clear that hiking the Emerald Pools Trail outside the height of summer would be more visually rewarding.

Upper Emerald Pool
The final stretch to Upper Emerald Pool is the most physically demanding part of the hike. The trail climbs uphill for around 0.5 miles, and the effort was very noticeable. It’s worth noting that after rain, the trail here can apparently become quite slippery, with a sandy, clay-like surface underfoot.
The uphill climb is well worth it, though, as Upper Emerald Pool itself was easily the highlight of the hike.
The trail opens out beneath a tall cliff face that blocks out almost all direct sunlight. Stepping into this shaded amphitheatre felt like an oasis after the heat lower down. The waterfall was pretty, and the pool beneath was deserving of its title.
When we arrived, there were around a dozen people sitting quietly, and despite the numbers, the atmosphere was calm and respectful. It was cool, sheltered, and genuinely lovely.

Back to Zion Lodge
Once you’re ready to leave Upper Emerald Pool, simply retrace your steps back towards the lower pool, until you reach the junction with the Kayenta Trail (the one you saw earlier).
From here, take the Kayenta Trail in the direction of The Grotto (you will see this signposted). This will take you toward the Virgin River. After crossing the river via a footbridge, you’ll join the Grotto Trail, which is a flat, easy walk that brings you back to Zion Lodge.
Alternatively, you could retrace your steps all the way back to Zion Lodge, via the middle and lower pools again. Doing so would make this hike an out-and-back instead of a loop.
In total, the Emerald Pools Trail comes in at around 3 miles (4.8km), and it makes for a relaxed half-day walk rather than a demanding hike.

Note: Despite its reputation as a “busy” trail, I didn’t find Emerald Pools particularly crowded when I visited.
Is the Emerald Pools Trail worth it?
For me, the Emerald Pools Trail sits firmly in the nice but skippable category. I had a good time, enjoyed the walk, and appreciated the scenery, but it wasn’t a standout hike for me. BUT, I will reiterate that I did this hike during the height of summer, when the pools were very dry.
This was entirely my mistake for going at the wrong time of year.
The Emerald Pools are very dependent on season and recent rainfall, and that has a big impact on how impressive the hike feels. Because it was peak summer for me, the lower and middle pools were incredibly lacklustre. That said, Upper Emerald Pool still stood out, even without much water. The tall cliff face blocks out the sun almost entirely, creating a cool, shaded bowl that creates a wonderful refuge from the heat.
If you want to see the pools and waterfalls at their most impressive, I imagine spring would be ideal. Snowmelt and seasonal rain mean the water would be flowing, the cliffs damp and dripping, and the pools would actually feel worthy of their name. Early summer would likely be fine too, as long as the water hasn’t dried up yet.
Dry pools aside, this trail is a great introduction to Zion. It’s easy to follow, scenic, and not too intimidating. On a hot day, the shaded climb and the cool bowl at Upper Emerald Pool are wonderful. If you’ve got a couple of hours to kill in the afternoon, Emerald Pools is a great option, especially if you’ll be visiting during wetter times of the year.
More Southwest USA hiking 🥾🏜️
- Visit my Hiking Hub for all hiking content
- The Bright Angel Trail in the Grand Canyon
- The Rim Trail in the Grand Canyon
- The Navajo Loop in Bryce Canyon

About The Author
Lauren Pears is a freelance travel writer and blogger who writes about active adventure travel. She’s been blogging for almost 10 years, and has written for publications such as Lonely Planet, World Nomads, and Southeast Asia Backpacker.
Thank you for reading! If you found this post useful, I’d be grateful if you would consider using the affiliate links below when planning your travels. I’ll make a small commission at no extra cost to you. This will help me to keep this blog running. Thanks for your support — Lauren.
Accommodation – Booking.com
Flights – Booking.com
Travel insurance – World Nomads
Excursions & tours – Viator
Outdoor gear – Decathlon
eSIMs – Airalo
Alternatively, you could buy me a coffee to say thanks!


