
Aiguillette des Posettes: Scenic Ridge Walk from Le Tour
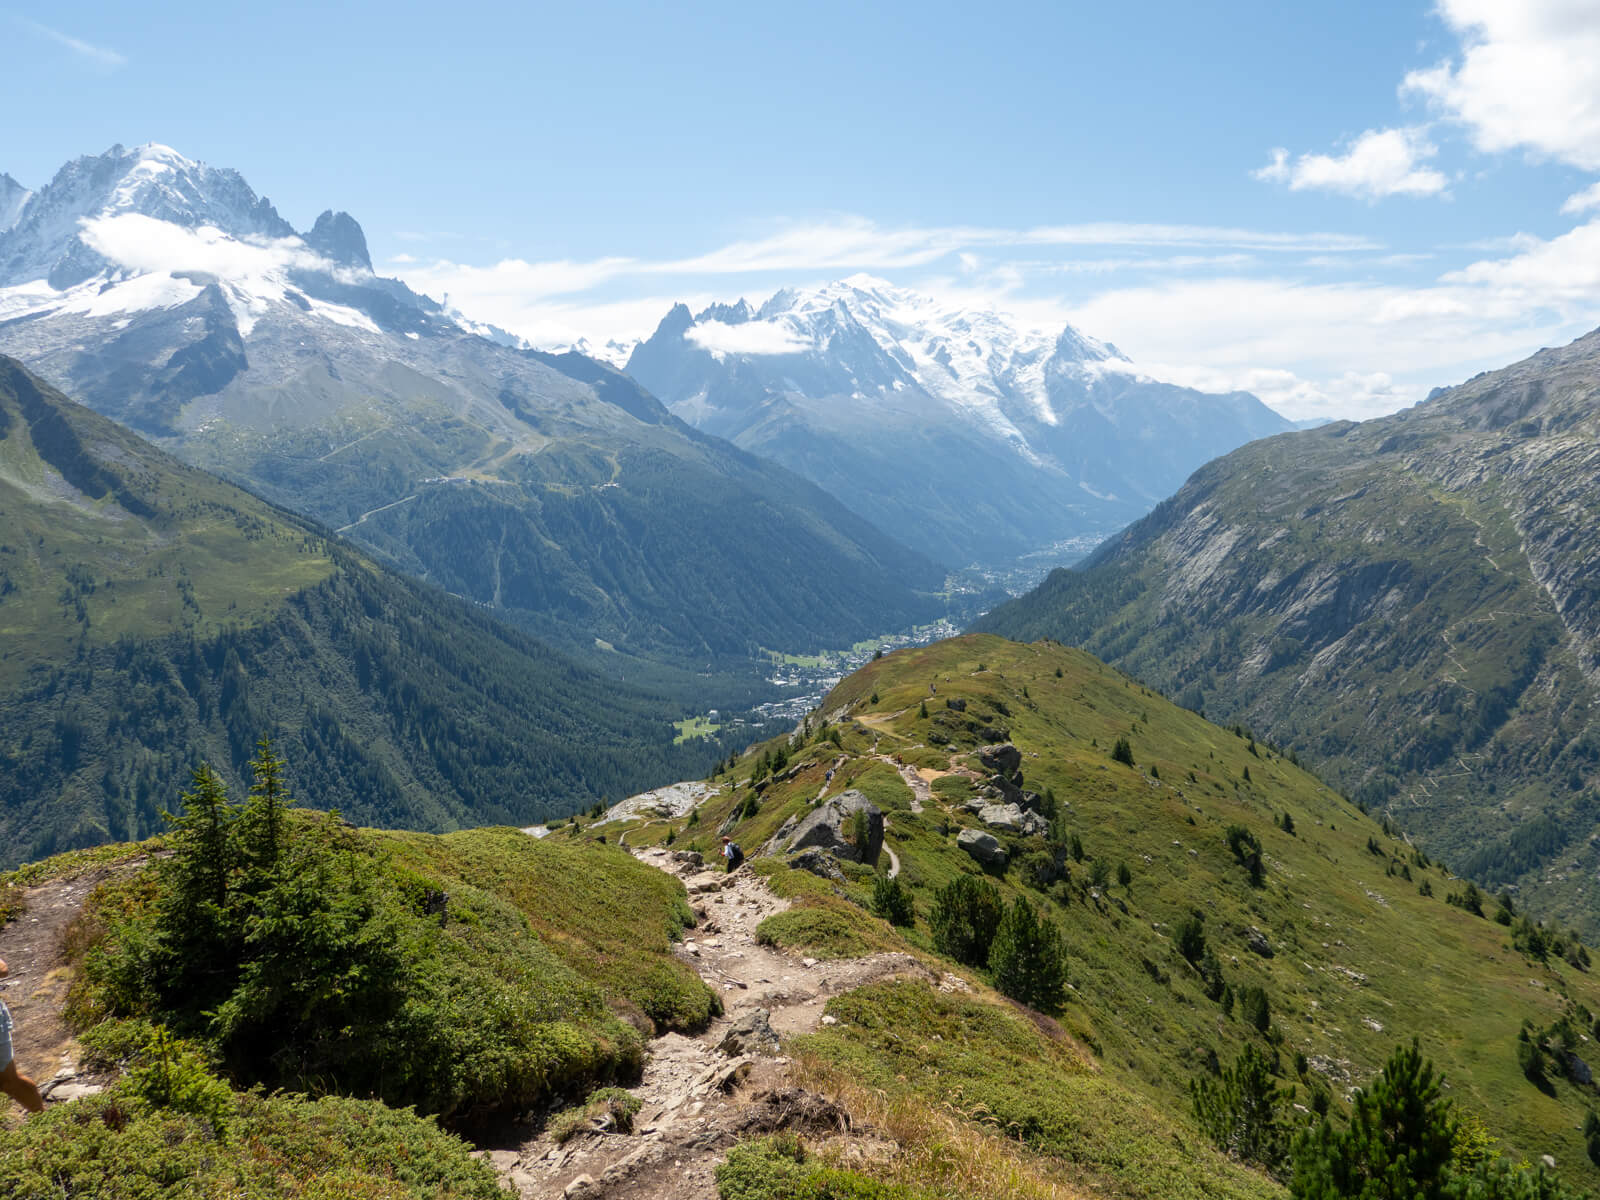
Aiguillette des Posettes is easily one of my favourite hikes in the Chamonix valley. Starting from the village of Le Tour, this circular route climbs to Col des Posettes before following a gorgeous, open ridge to the summit at 2,201 metres.
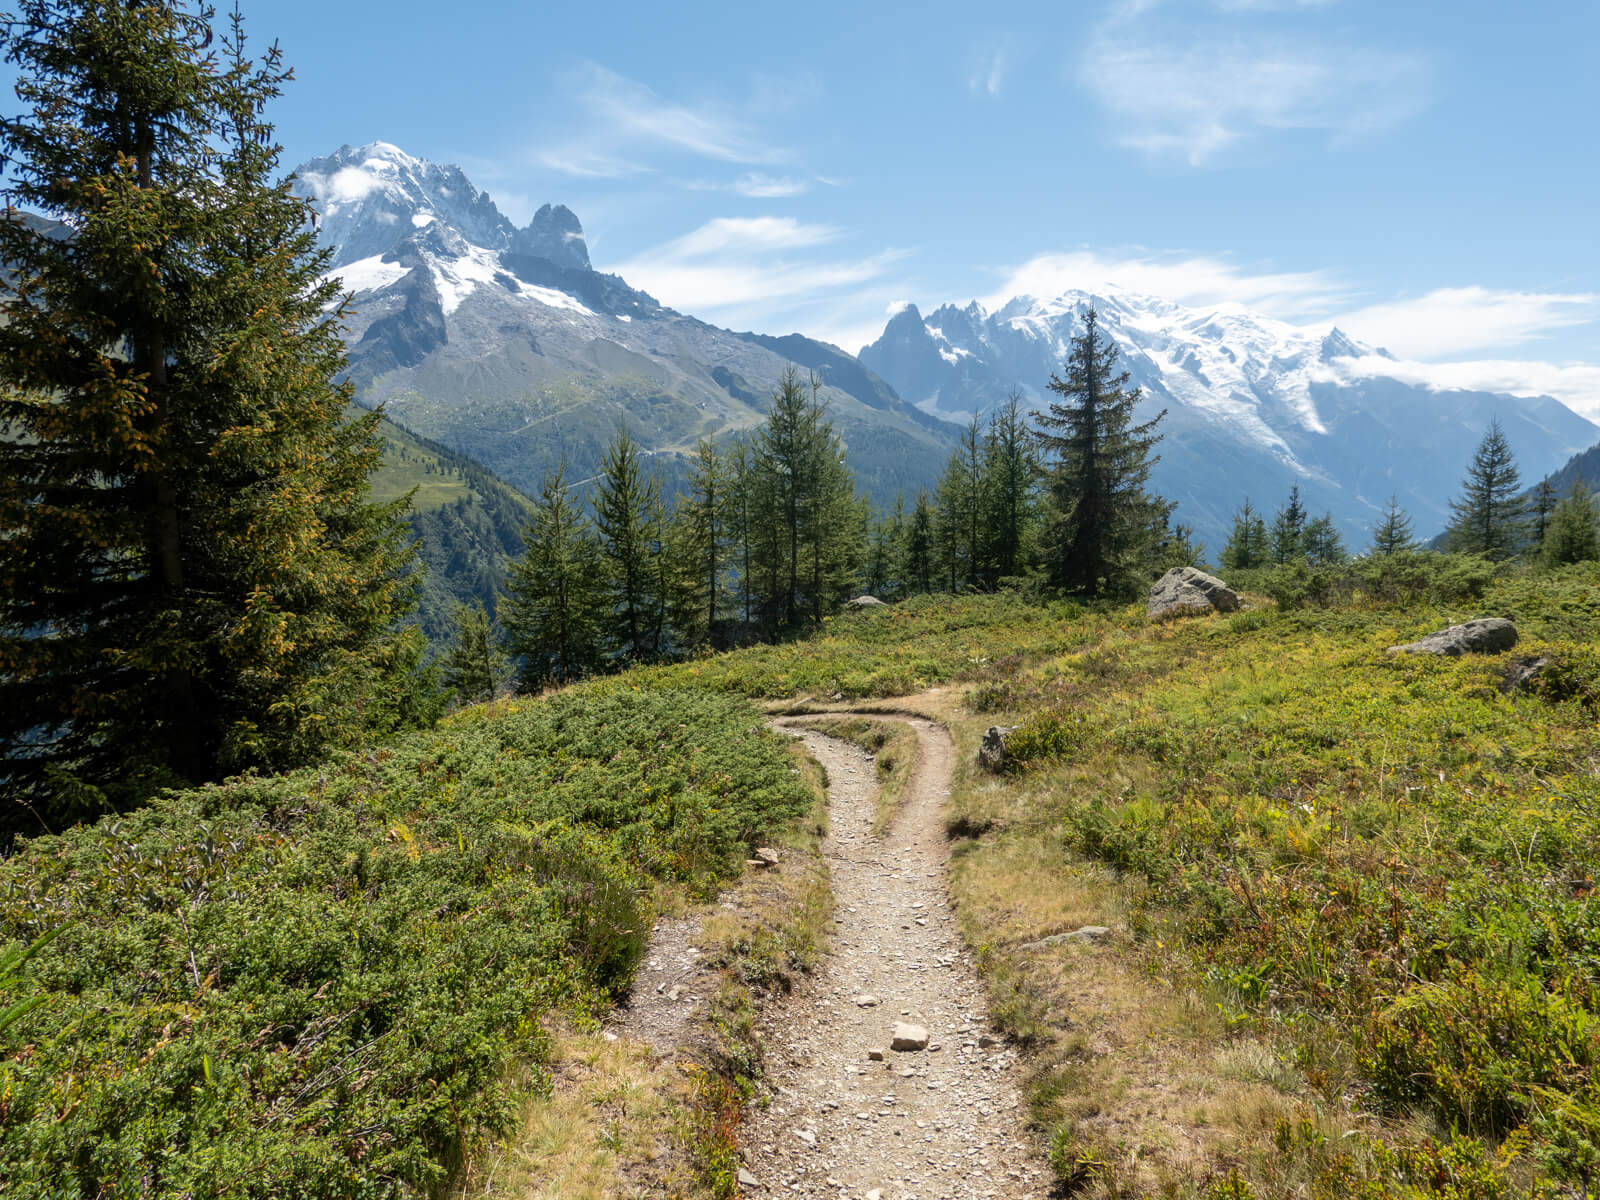
What I found so enjoyable about this hike was the variety. There’s a steep climb out of Le Tour, gorgeous scenery across open mountainside, and a fantastic ridge with views over the Chamonix and Vallorcine valleys. The descent takes you back to Le Tour a different way, including through sections of forest, so the scenery changes quite a bit throughout the route.
The hike is 9.8 kilometres long with 707 metres of elevation gain, so you’ll need a reasonable level of fitness. But if you’re comfortable with some exposure and want a scenic hike without having to use a cable car, I highly recommend Aiguillette des Posettes!
Aiguillette des Posettes hike at a glance
| Start/end | Le Tour village |
| Distance | 9.8 km |
| Elevation gain | 707 metres |
| Highest point | 2,201 metres |
| Time | 4.5–5 hours |
| Difficulty | Moderate to challenging |
| Route | Circular |
| Cable cars required | None |
| Best time to hike | Summer to early autumn |
These statistics are from my hike in August 2026.
Aiguillette des Posettes route overview
I go into the route in more detail further down, but here’s a quick overview:
The hike begins in Le Tour, where a steep series of switchbacks takes you up the mountainside towards Charamillon. This is the most demanding part of the route, with a considerable amount of elevation gain in the first hour or so.
Beyond Charamillon, the trail becomes gentler as it crosses open, grassy slopes towards Col des Posettes. From the col, a final climb brings you onto the ridge, which undulates towards the summit of Aiguillette des Posettes.
The ridge is the highlight, with views across the Chamonix valley towards the Mont Blanc Massif and over the mountains surrounding Vallorcine.
From the summit, the trail descends on the opposite side of the ridge, eventually entering forest before returning to Le Tour.
Aiguillette des Posettes hiking map
I found navigation pretty easy, as the main junctions were well signposted.
From Le Tour, I followed the Sentier Piétons signs towards Charamillon, then continued towards Col des Posettes. From the col, signs direct you towards the Aiguillette des Posettes summit, with further signs for Le Tour on the descent.
There are several intersecting hiking and mountain biking trails around Charamillon, so I’d recommend downloading an offline map before setting off, just in case.
How to get to the Trailhead
The hike starts in Le Tour, a small village at the northeastern end of the Chamonix valley, approximately 12 kilometres from Chamonix town centre.
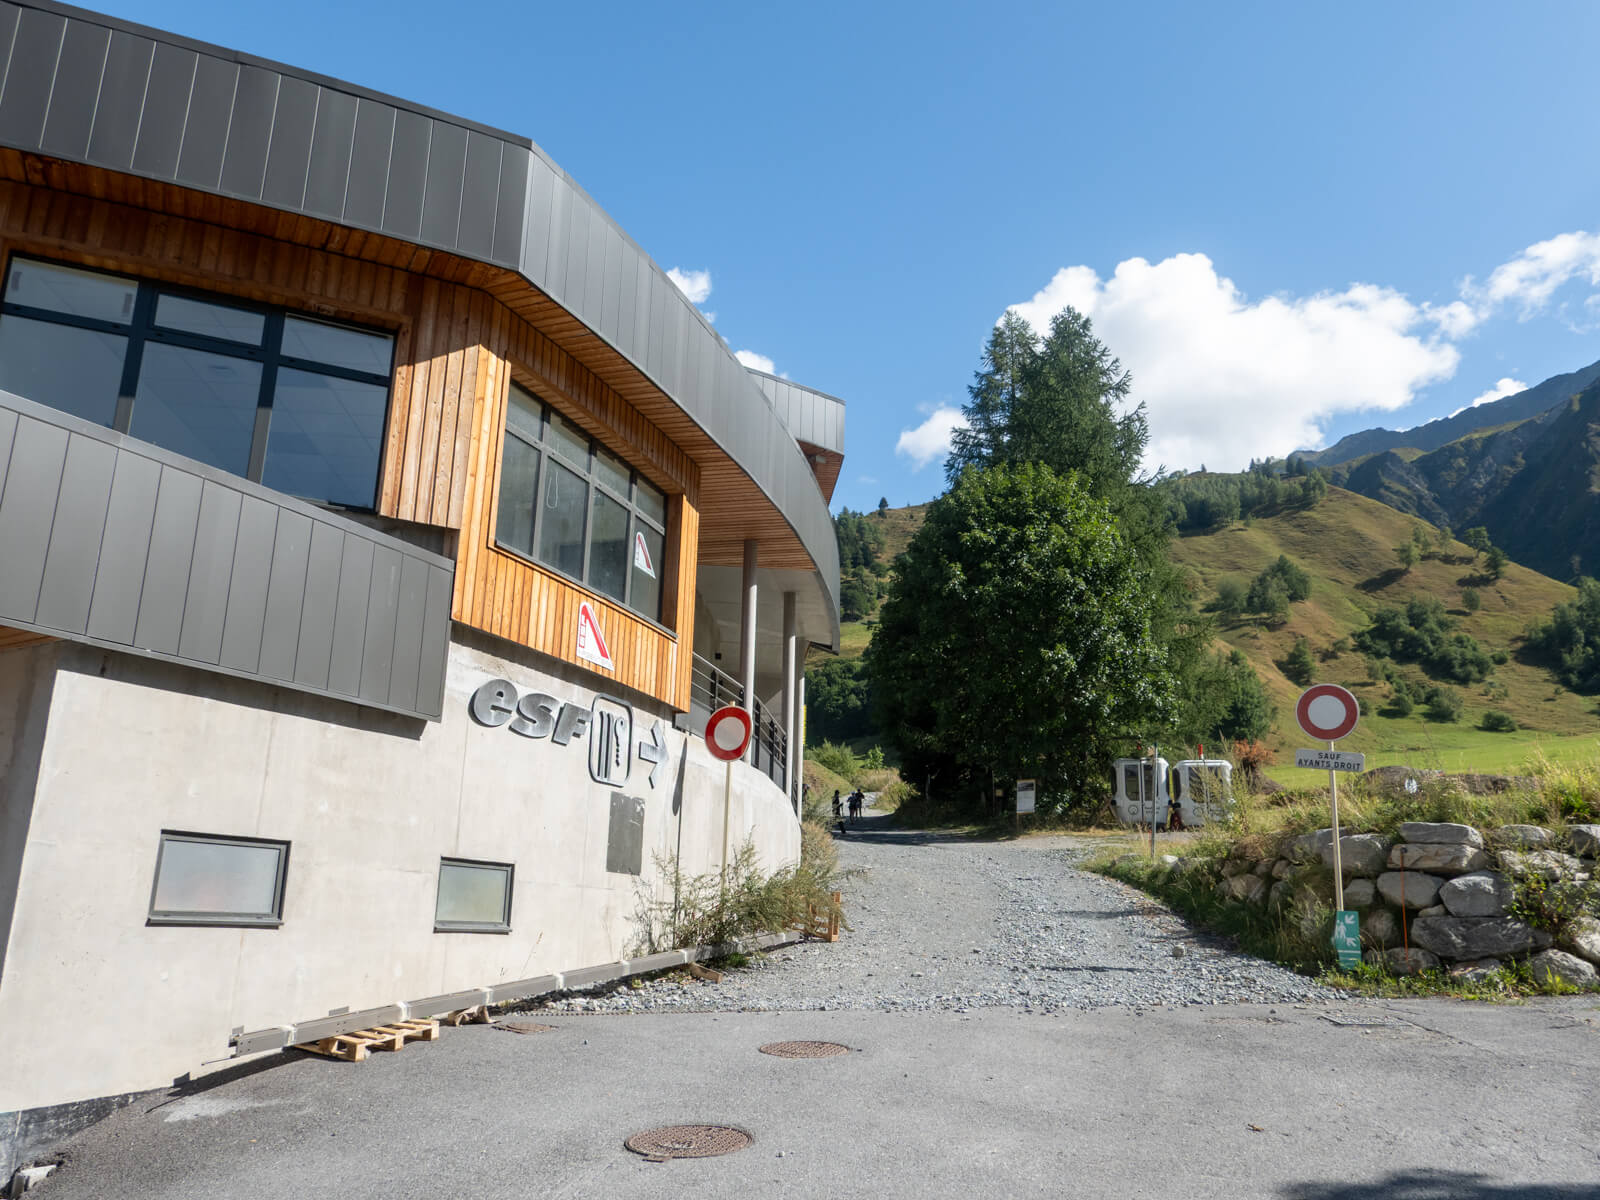
By bus: You can reach Le Tour from Chamonix by local bus, with the journey typically taking around 30–40 minutes. Get off at Le Tour, near the Charamillon lift station. The bus will stop in a large car park, and you should be able to see the lift station, so you’ll know you’re getting off at the right place.
By car: There’s a car park beside the Charamillon lift station, close to the start of the trail. It can get busy during the summer, so I’d recommend arriving reasonably early if you’re driving.
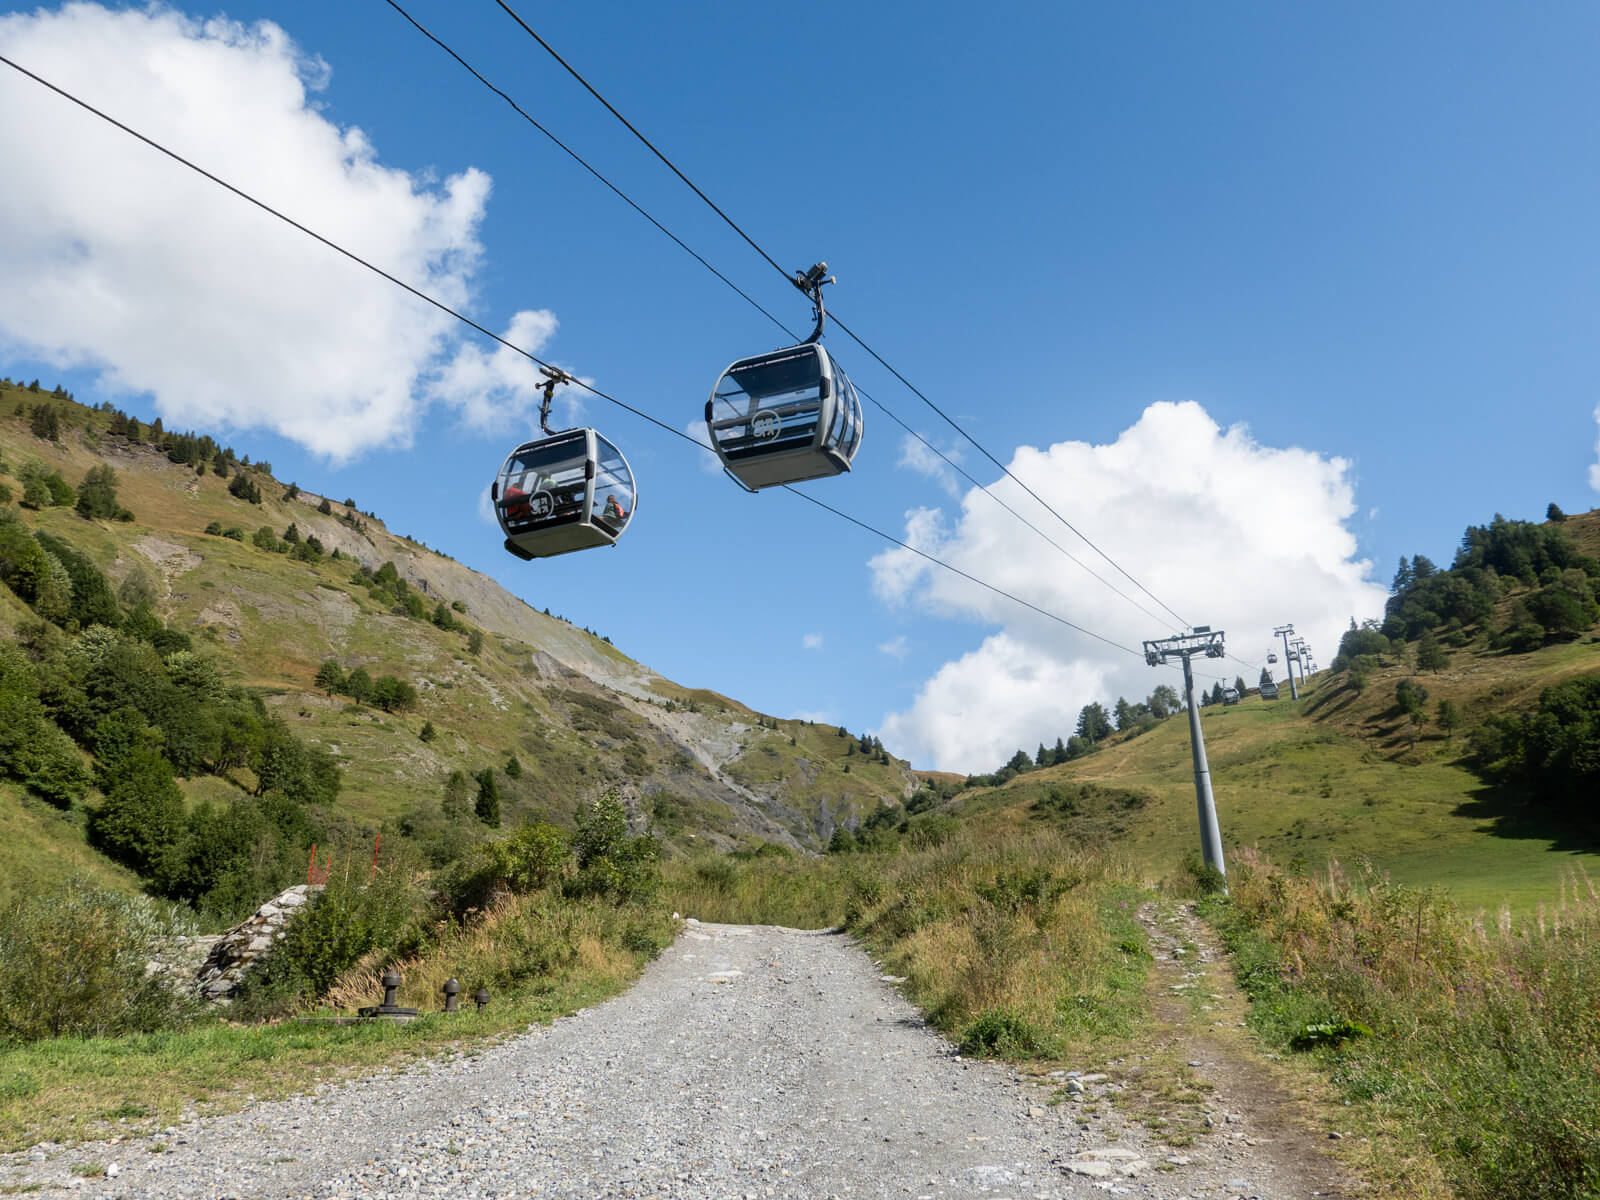
The trail begins right beside the Charamillon lift station. You don’t need to take the gondola, though, as the route climbs directly from the village.
Aiguillette des Posettes: Step-by-step hiking route
1. Le Tour to Chalet de Charamillon
From Le Tour, pick up the footpath to the right of the Charamillon lift station, following the signs marked Sentier Piétons.
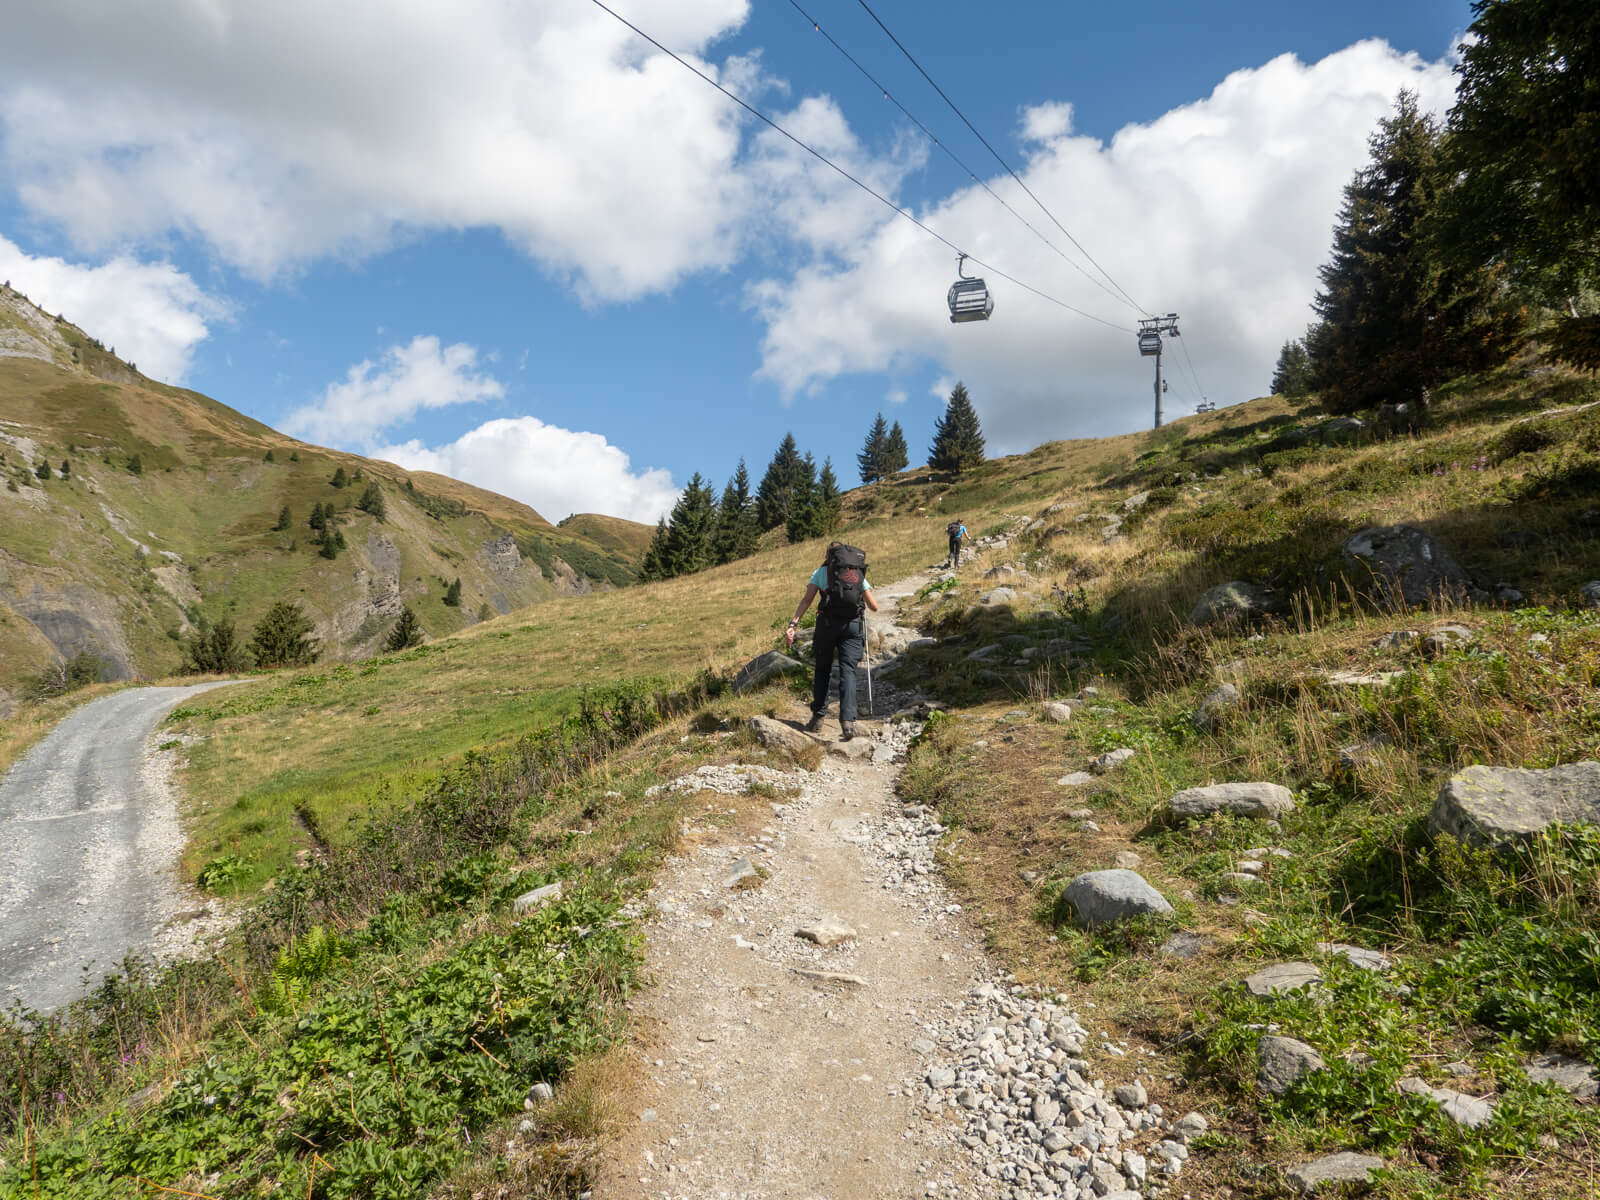
The trail starts climbing almost immediately, zigzagging up the hillside above the village. It’s a well-established path and easy to follow, although the gradient is bloody relentless.
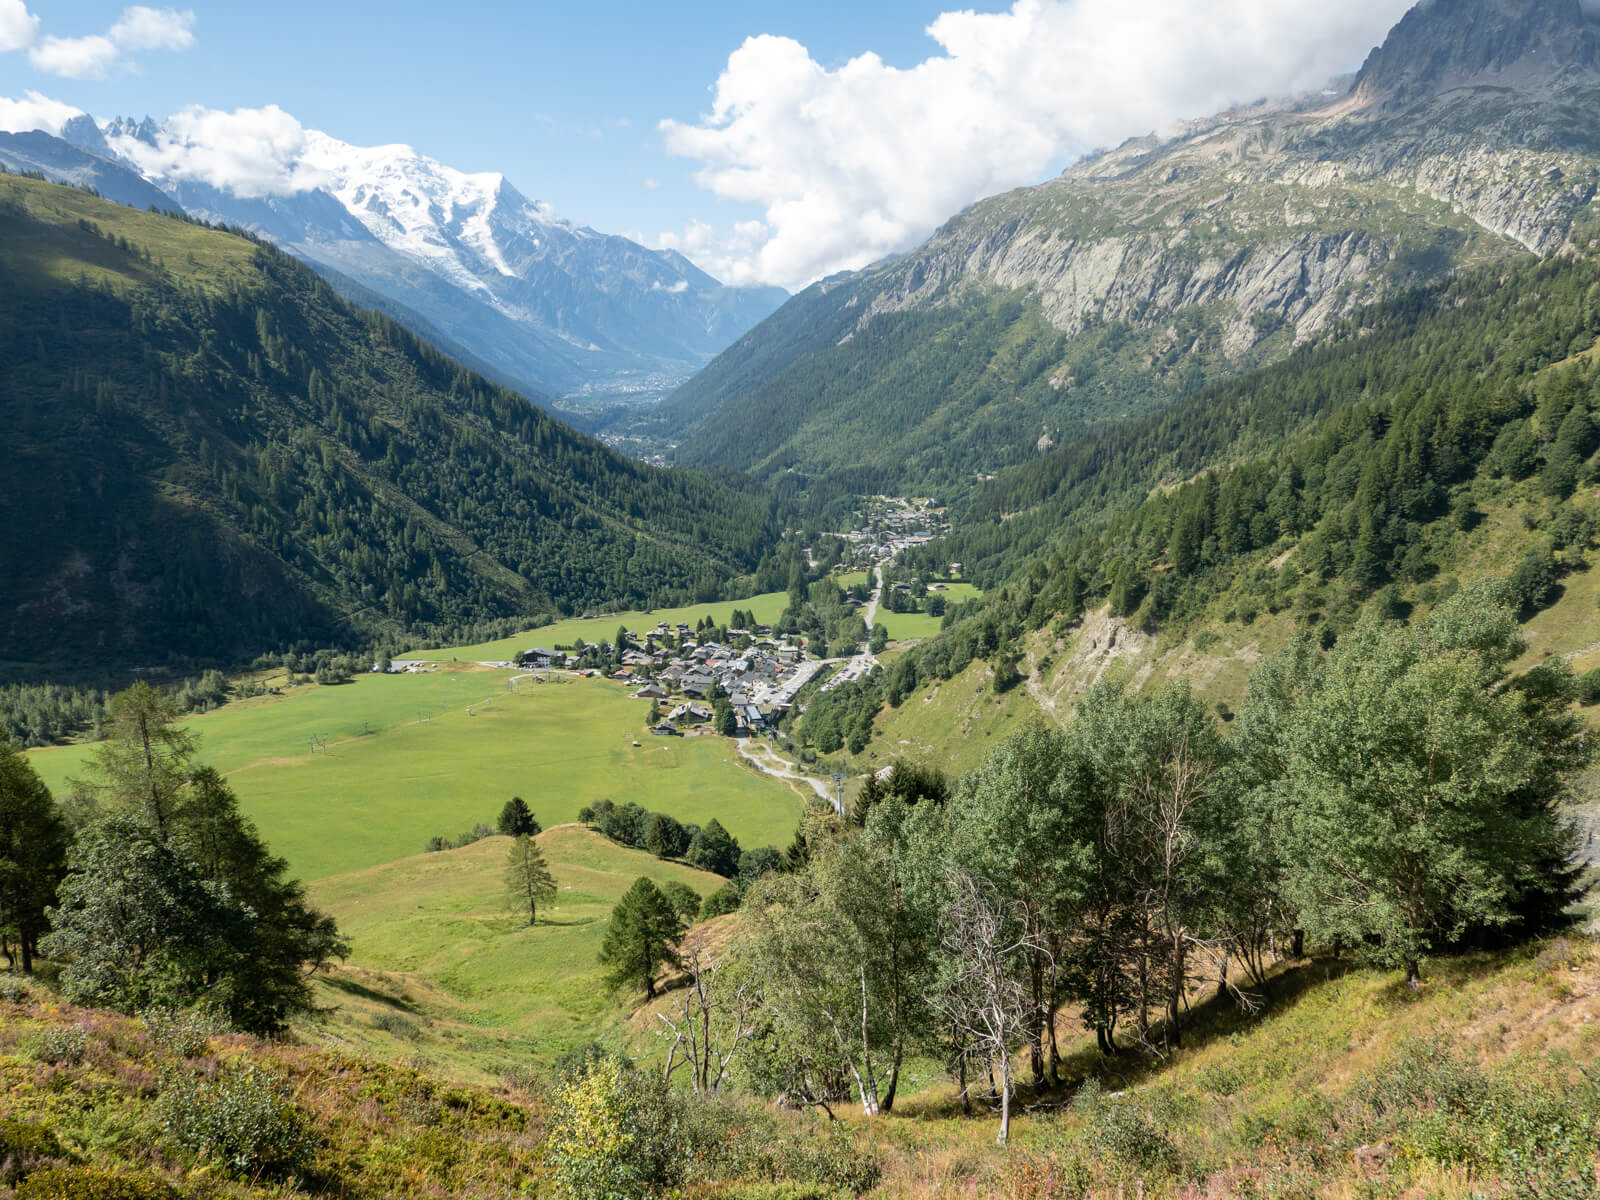
This was easily the hardest part of the hike for me. There’s quite a lot of elevation to gain over a relatively short distance, and the switchbacks seem to keep coming. Fortunately, the views become increasingly impressive as you climb, so it’s worth turning around occasionally to look back across the valley.
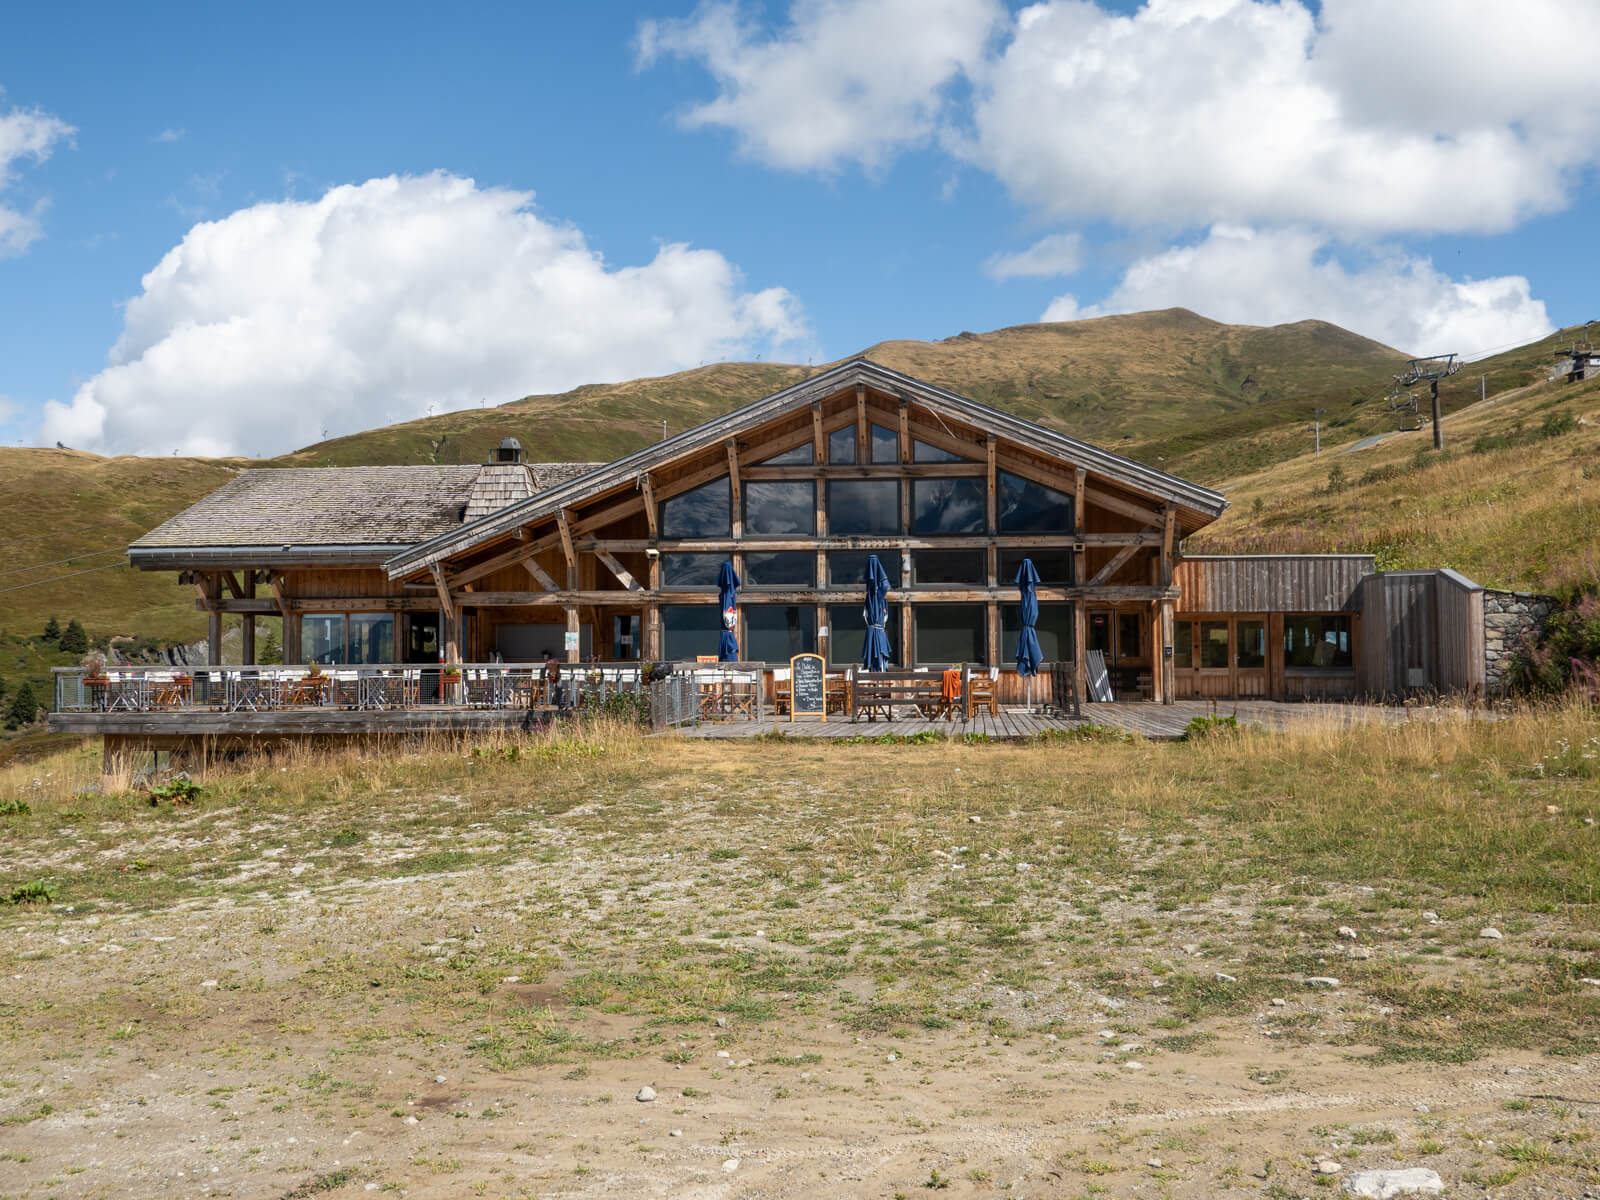
After approximately an hour, I reached Chalet de Charamillon, beside the upper gondola station. The worst of the sustained climbing was now behind me!
There’s a cafe and other facilities at Charamillon, making it a nice place to stop if you need a break.
2. Chalet de Charamillon to Col des Posettes
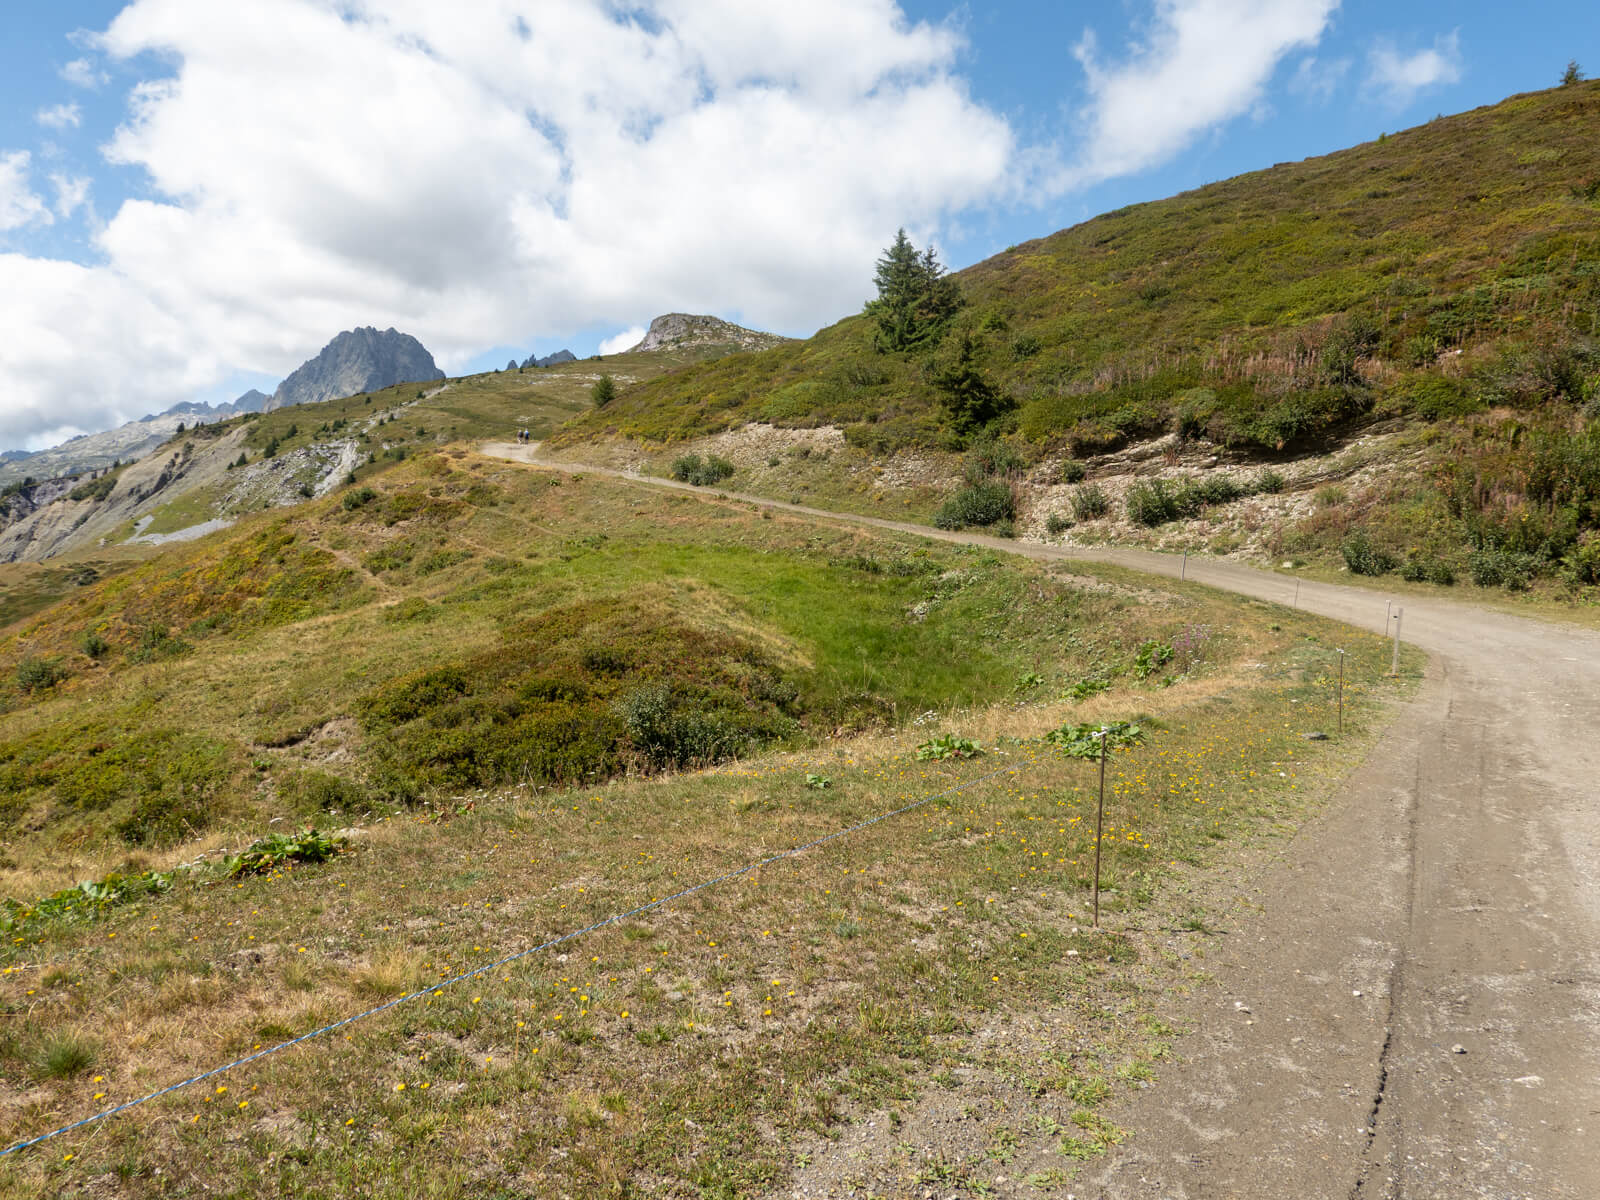
From Chalet de Charamillon, I continued along the trail with the chalet on my right, following signs towards Col des Posettes.
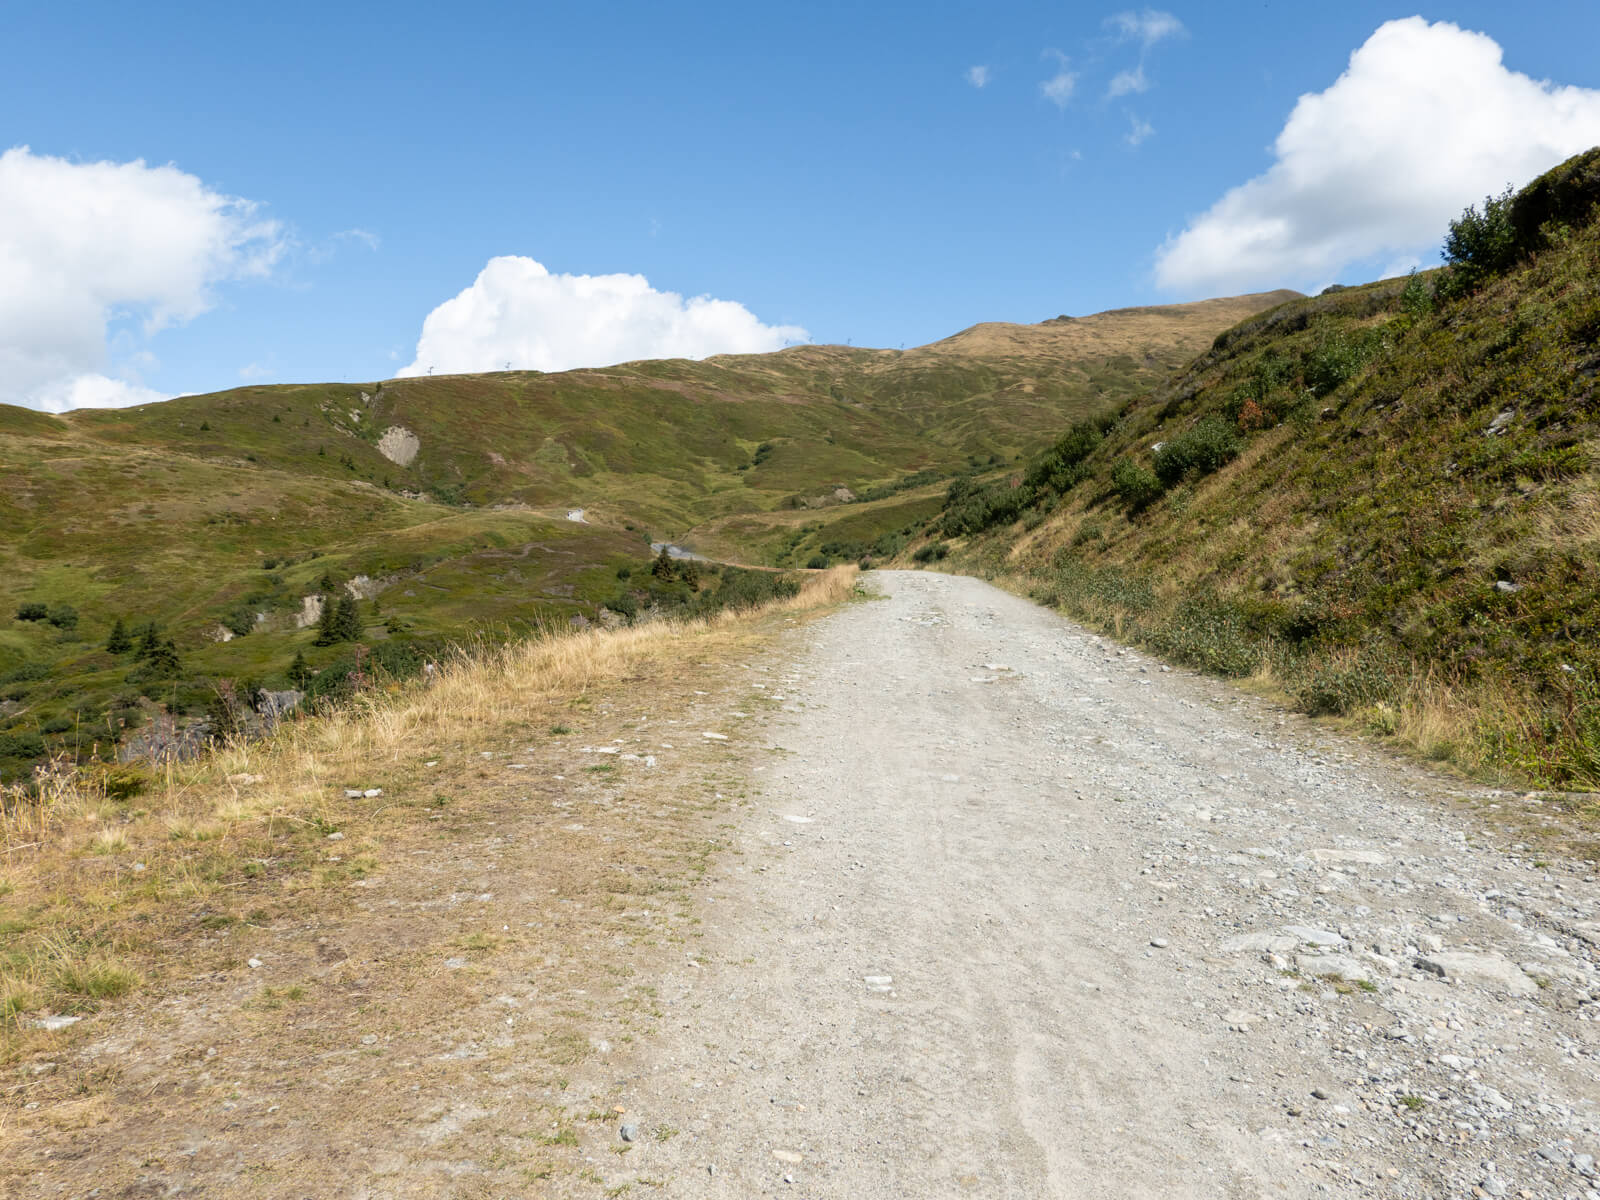
After the steep switchbacks from Le Tour, the next section felt considerably easier. The path traverses the mountainside on a much gentler gradient, and I was quite happy to give my legs a break.
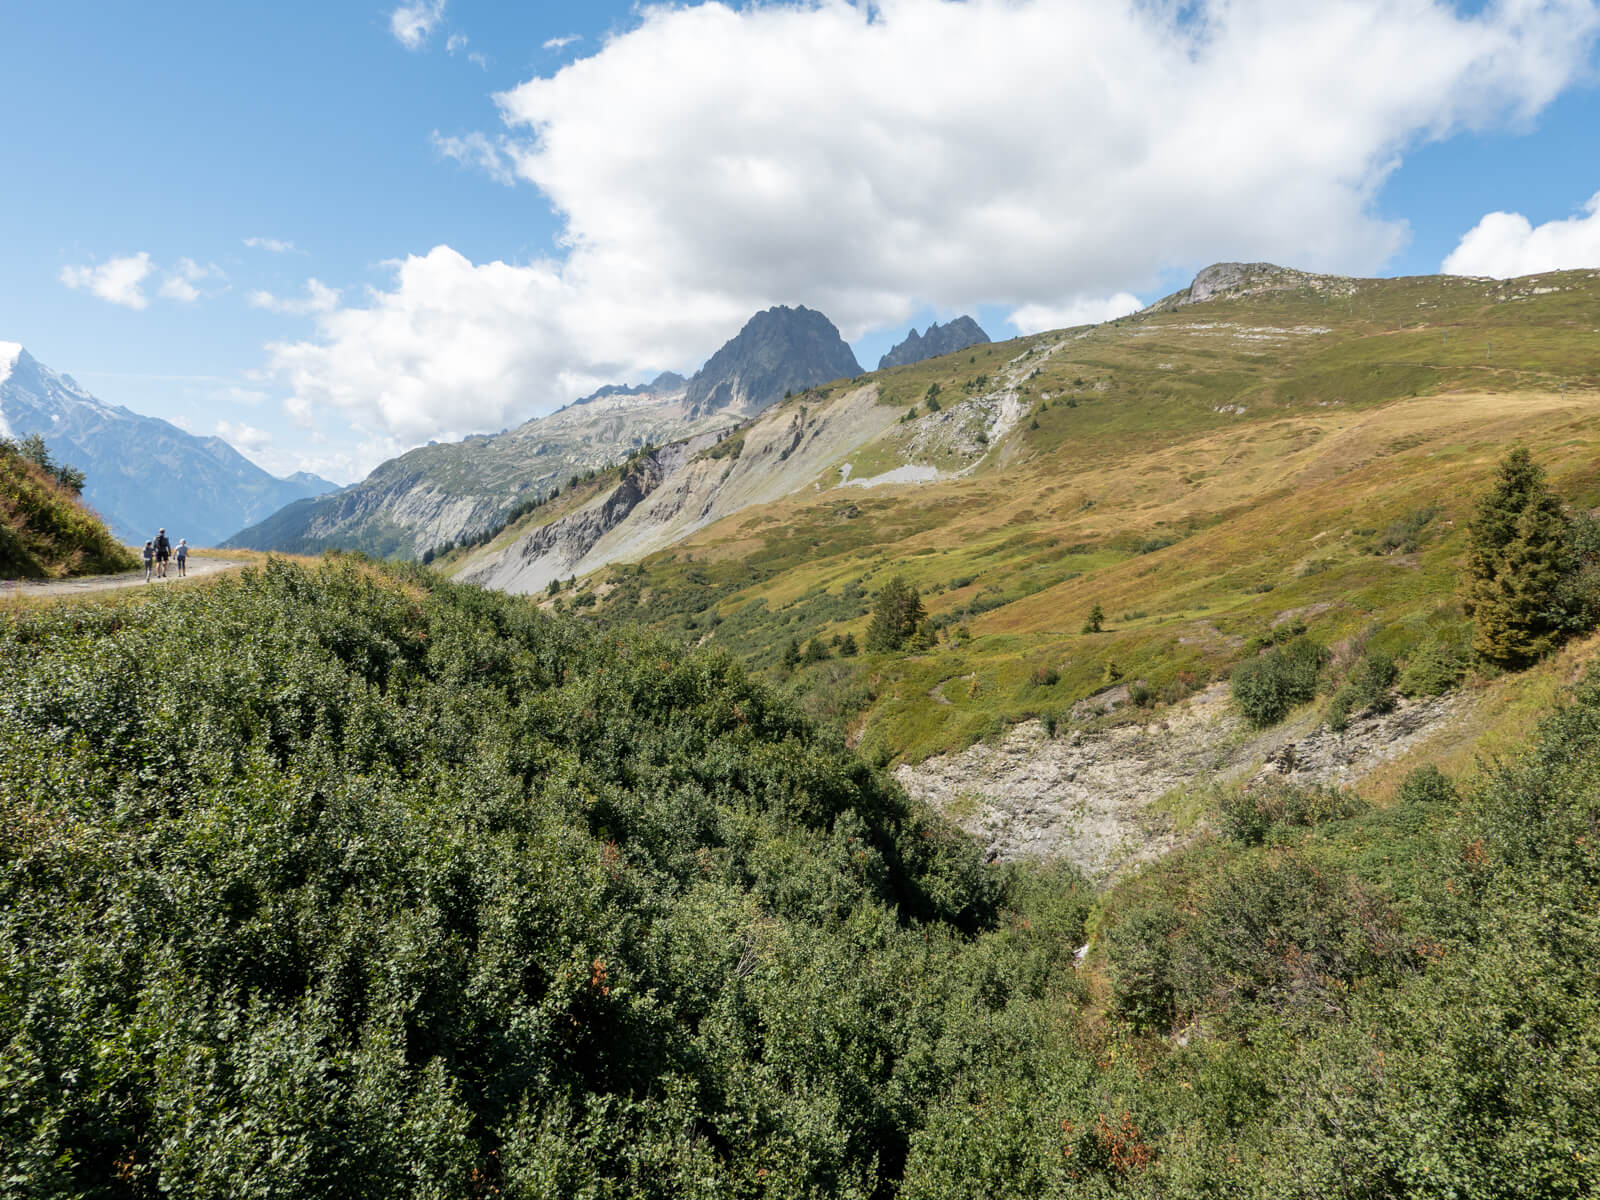
The scenery also changes around here. The hillside becomes more open, with grassy slopes and wide views across the surrounding peaks. I also passed several mountain bikers along this section, as there are a number of cycling trails in the Balme area.
Continue following the trail as it curves around the hillside and gradually climbs towards Col des Posettes.
3. Col des Posettes to Aiguillette des Posettes summit
This was my favourite part of the hike.
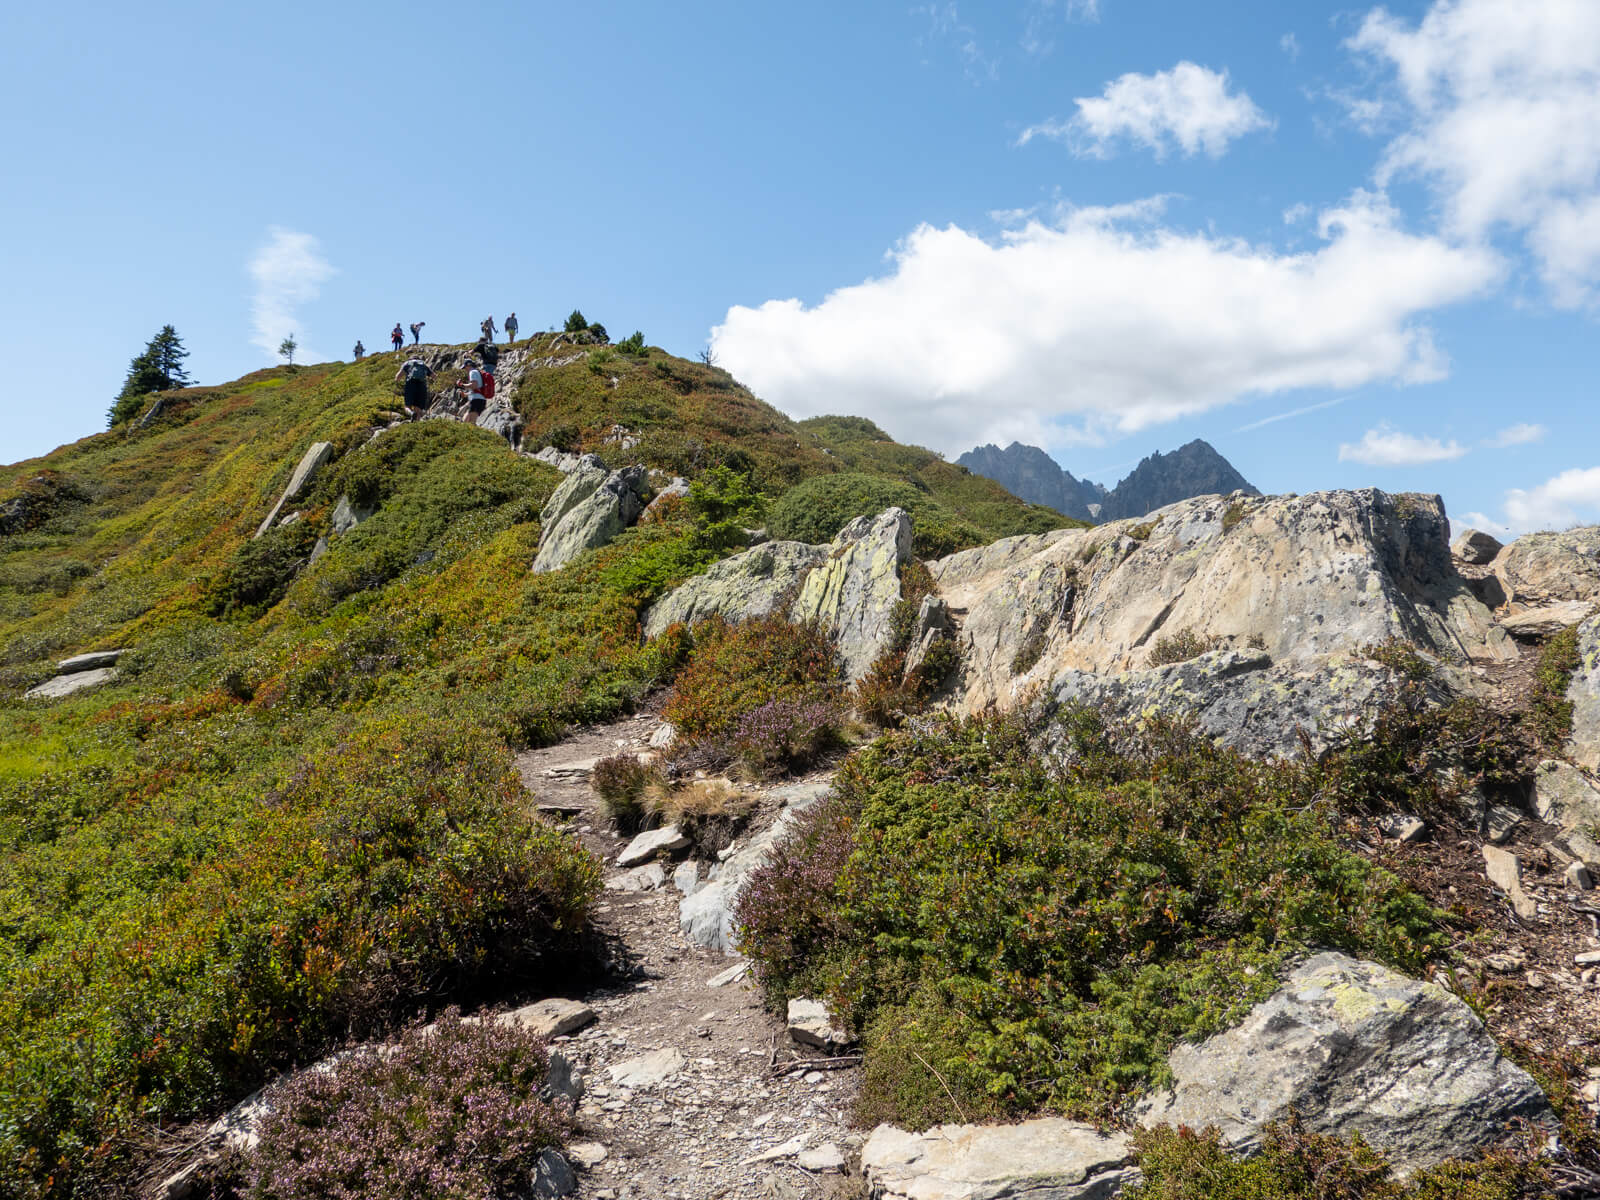
From Col des Posettes, follow the signs towards Aiguillette des Posettes. The mountain comes into view as you approach, with the trail climbing towards the ridgeline before turning left towards the summit.
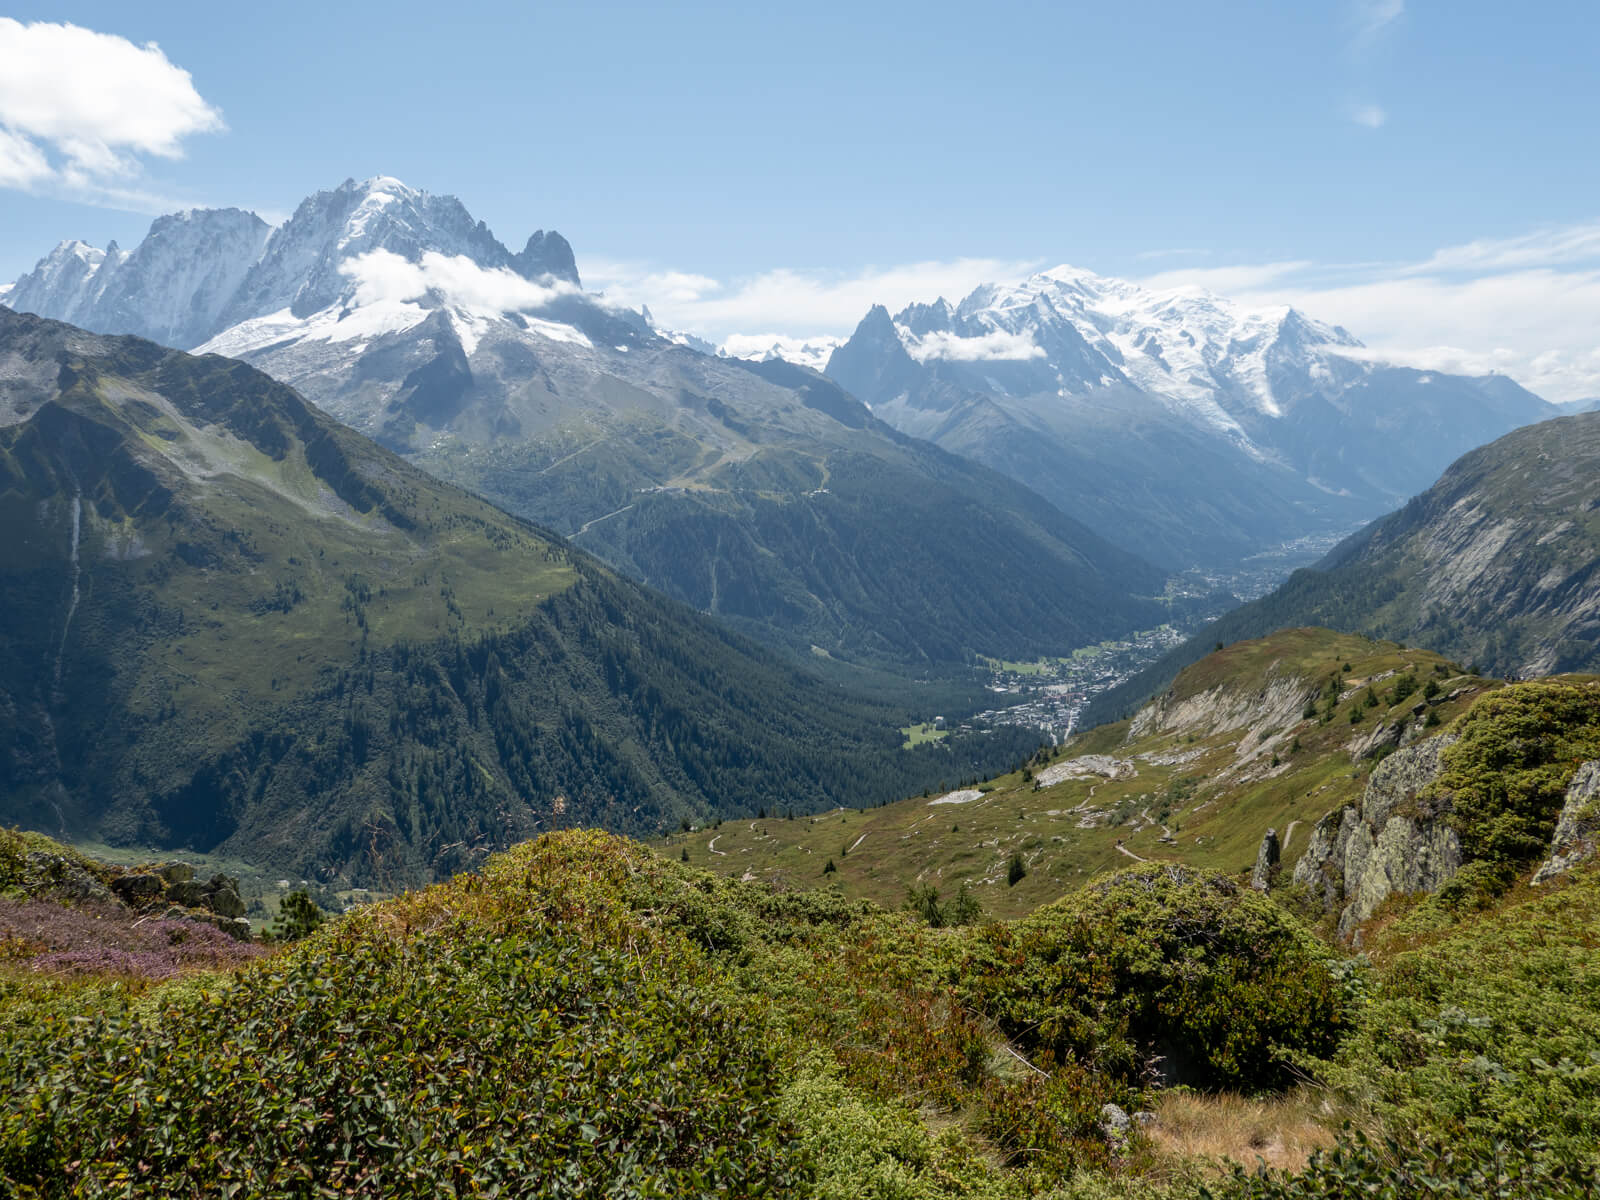
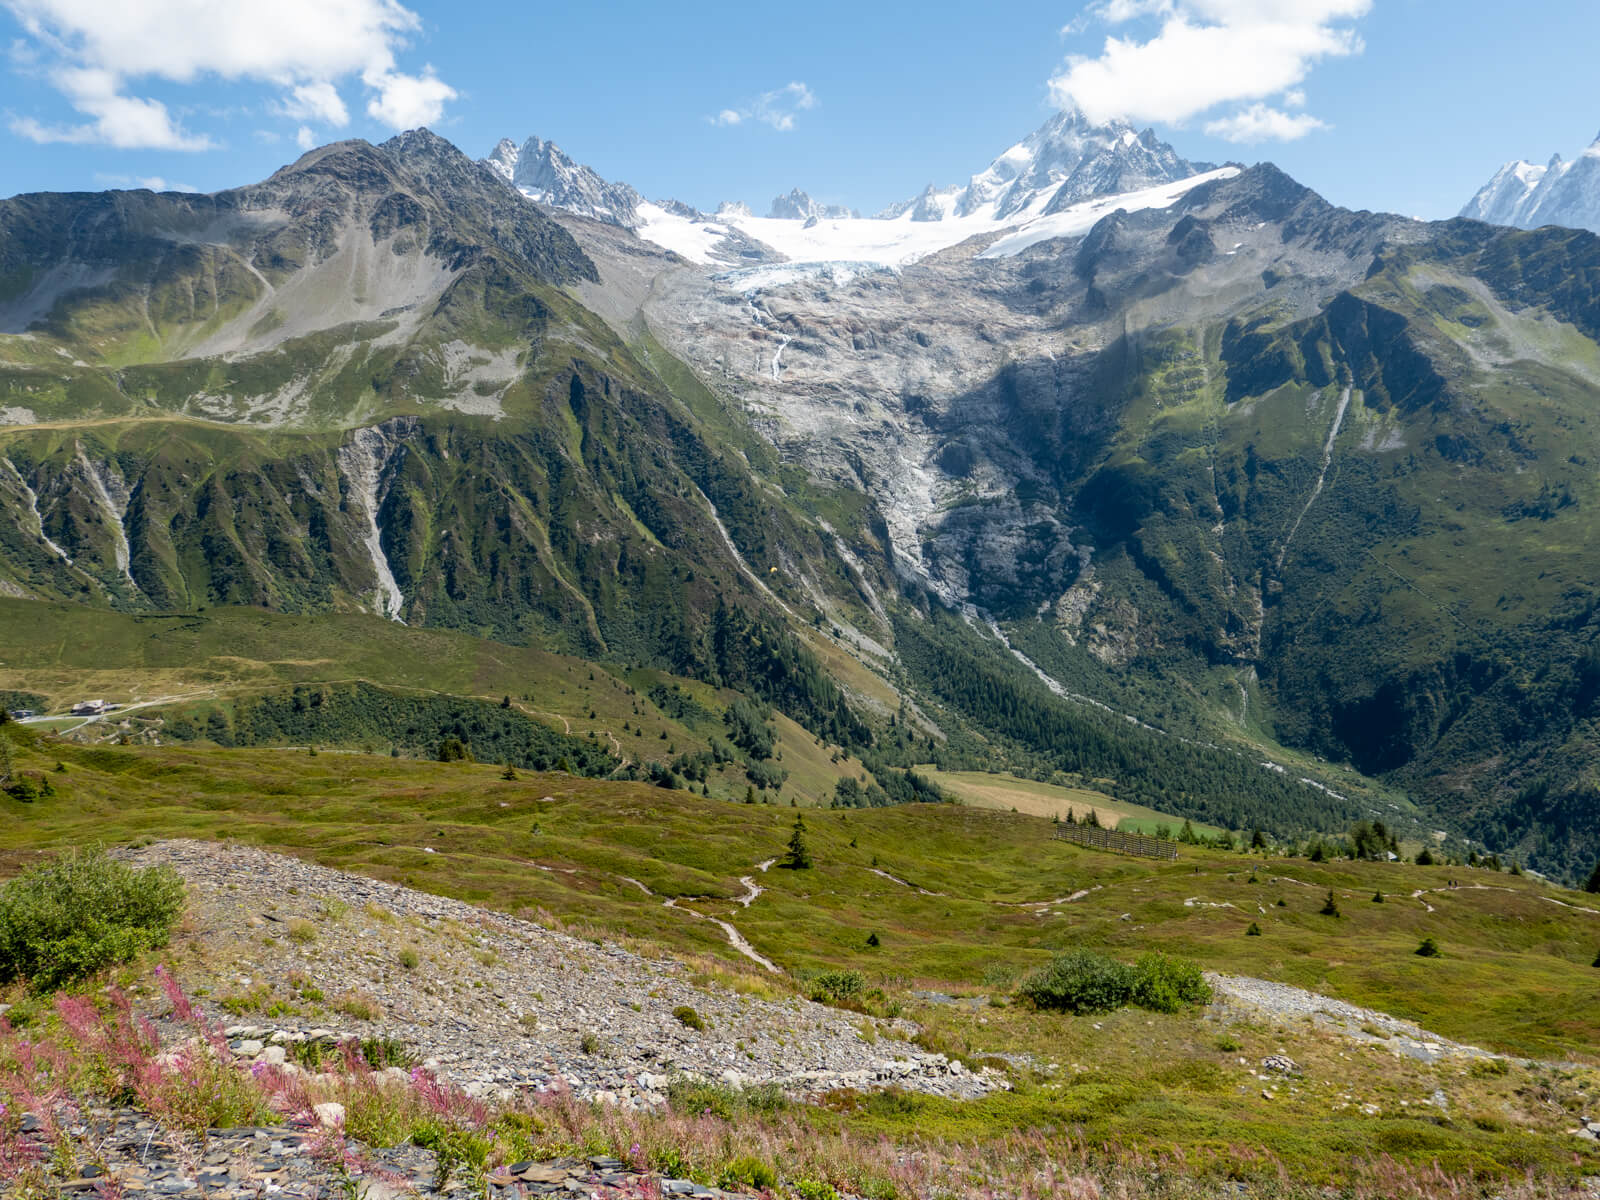
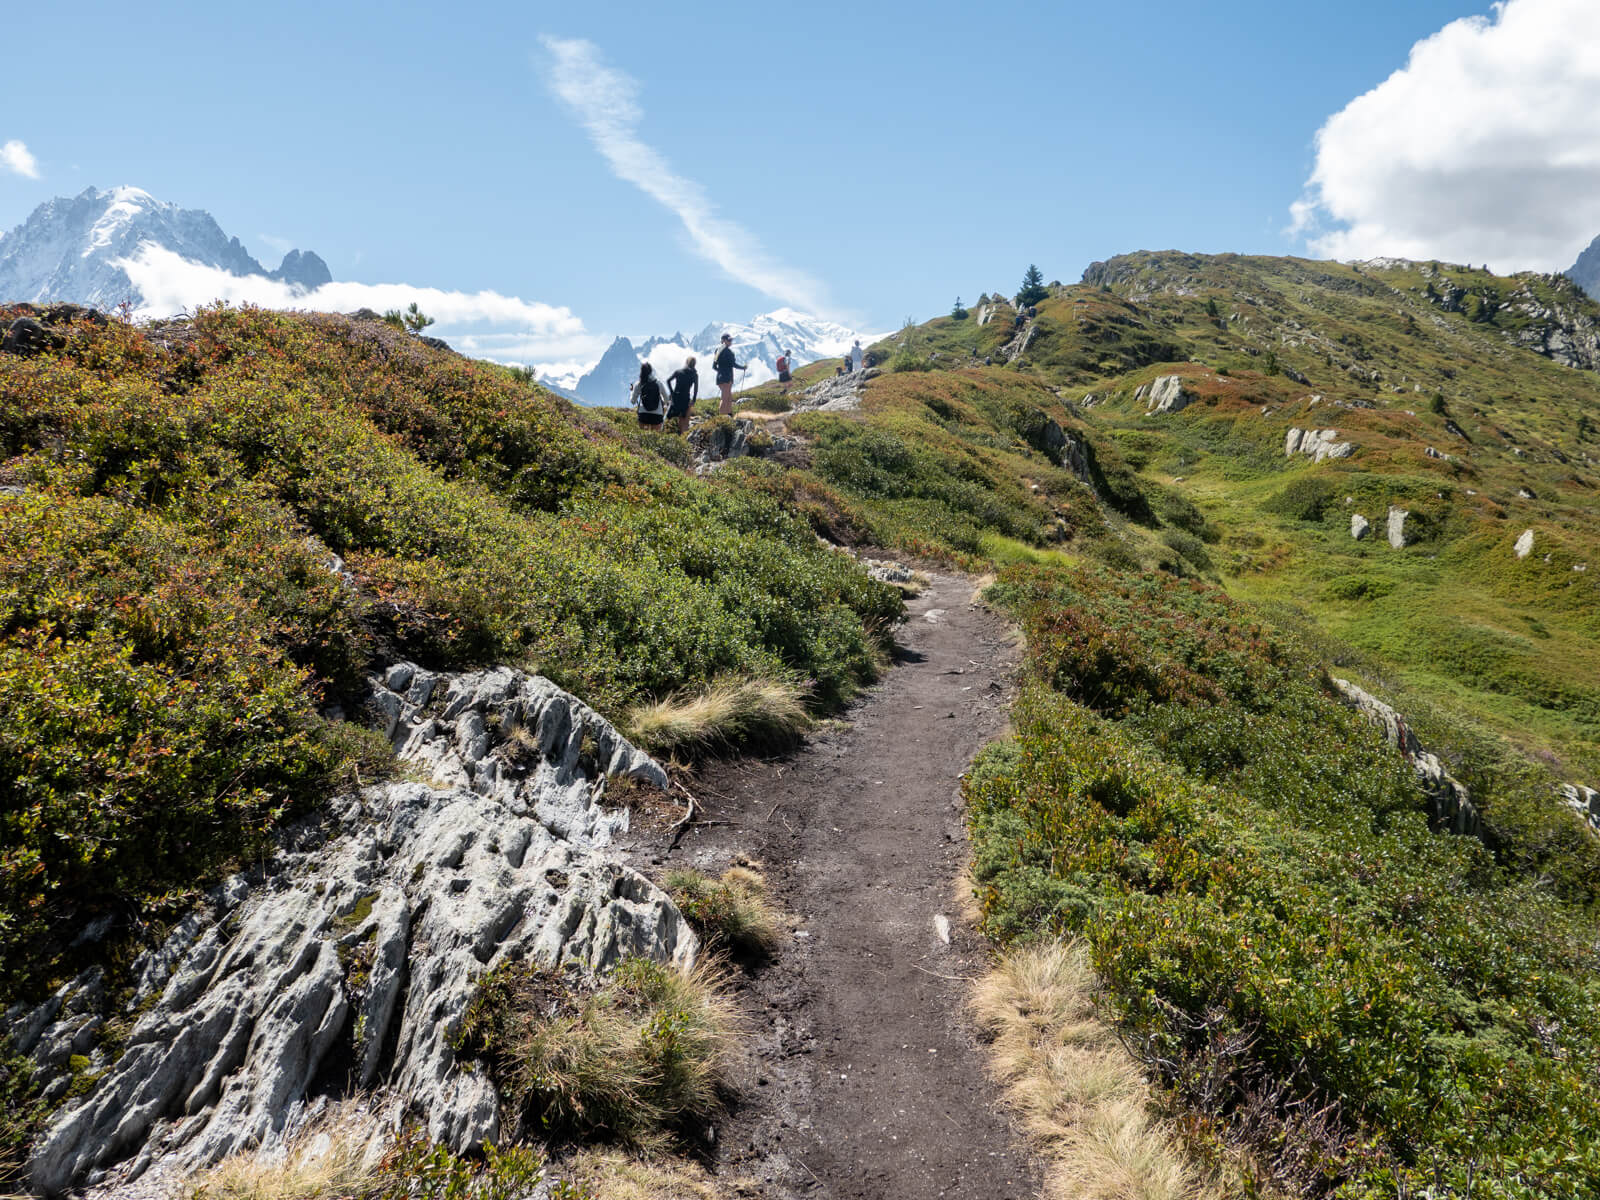
Once you’re on the ridge, the scenery is fantastic. You can look across the Chamonix valley towards the Mont Blanc Massif in one direction and over the Vallorcine valley in the other.
The trail follows the crest of the ridge, with a few gentle rises and dips along the way. There are some narrower sections and uneven rocks where you might want to use your hands for balance, but it’s nothing too scrambly.
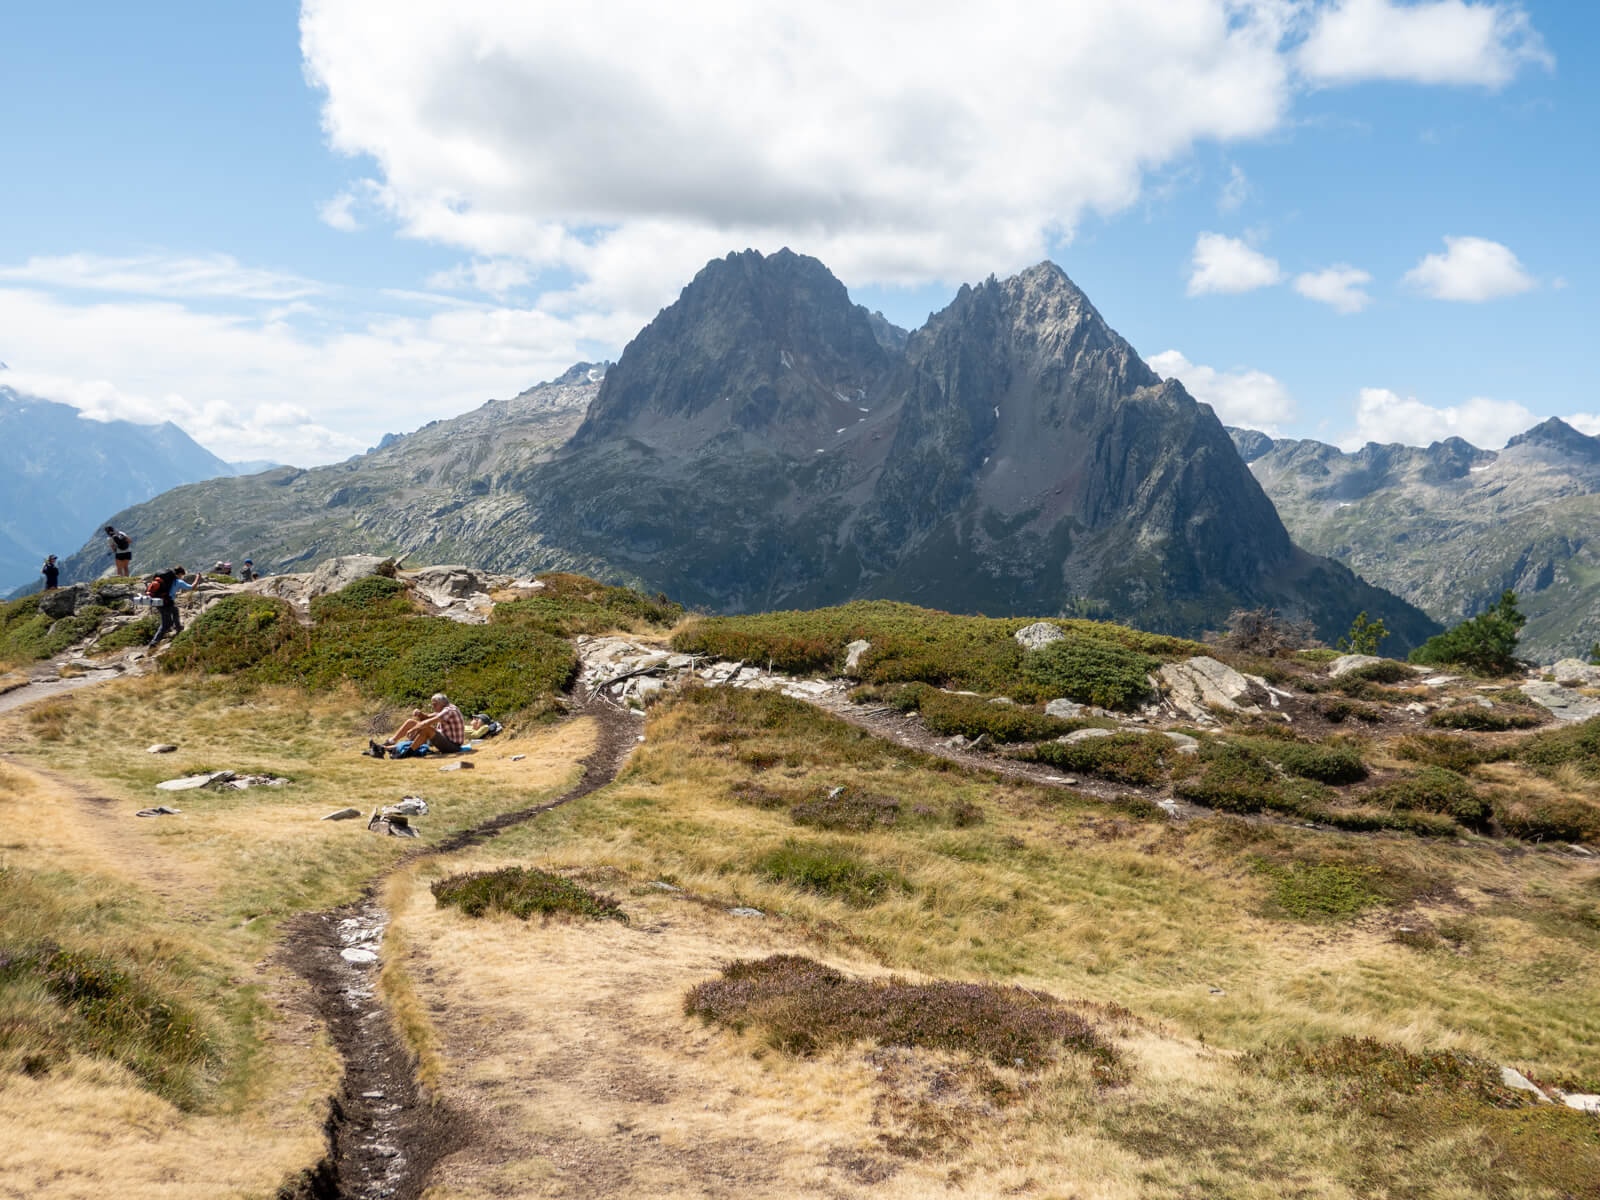
The summit of Aiguillette des Posettes sits at 2,201 metres and offers panoramic views of the surrounding mountains, including the Le Tour Glacier, the Mont Blanc Massif, and the peaks around Vallorcine.
There were quite a few people at the top when I visited, so don’t expect solitude! However, it was still nice to sit and enjoy my lunch at the summit before continuing.
4. Aiguillette des Posettes to Le Tour
From the summit, continue along the trail on the opposite side of the ridge, following the signs back towards Le Tour rather than returning to Col des Posettes.
The trail begins descending steadily, leaving the open ridgeline behind. I found this side of the mountain noticeably quieter and only passed a handful of other hikers on the way down.
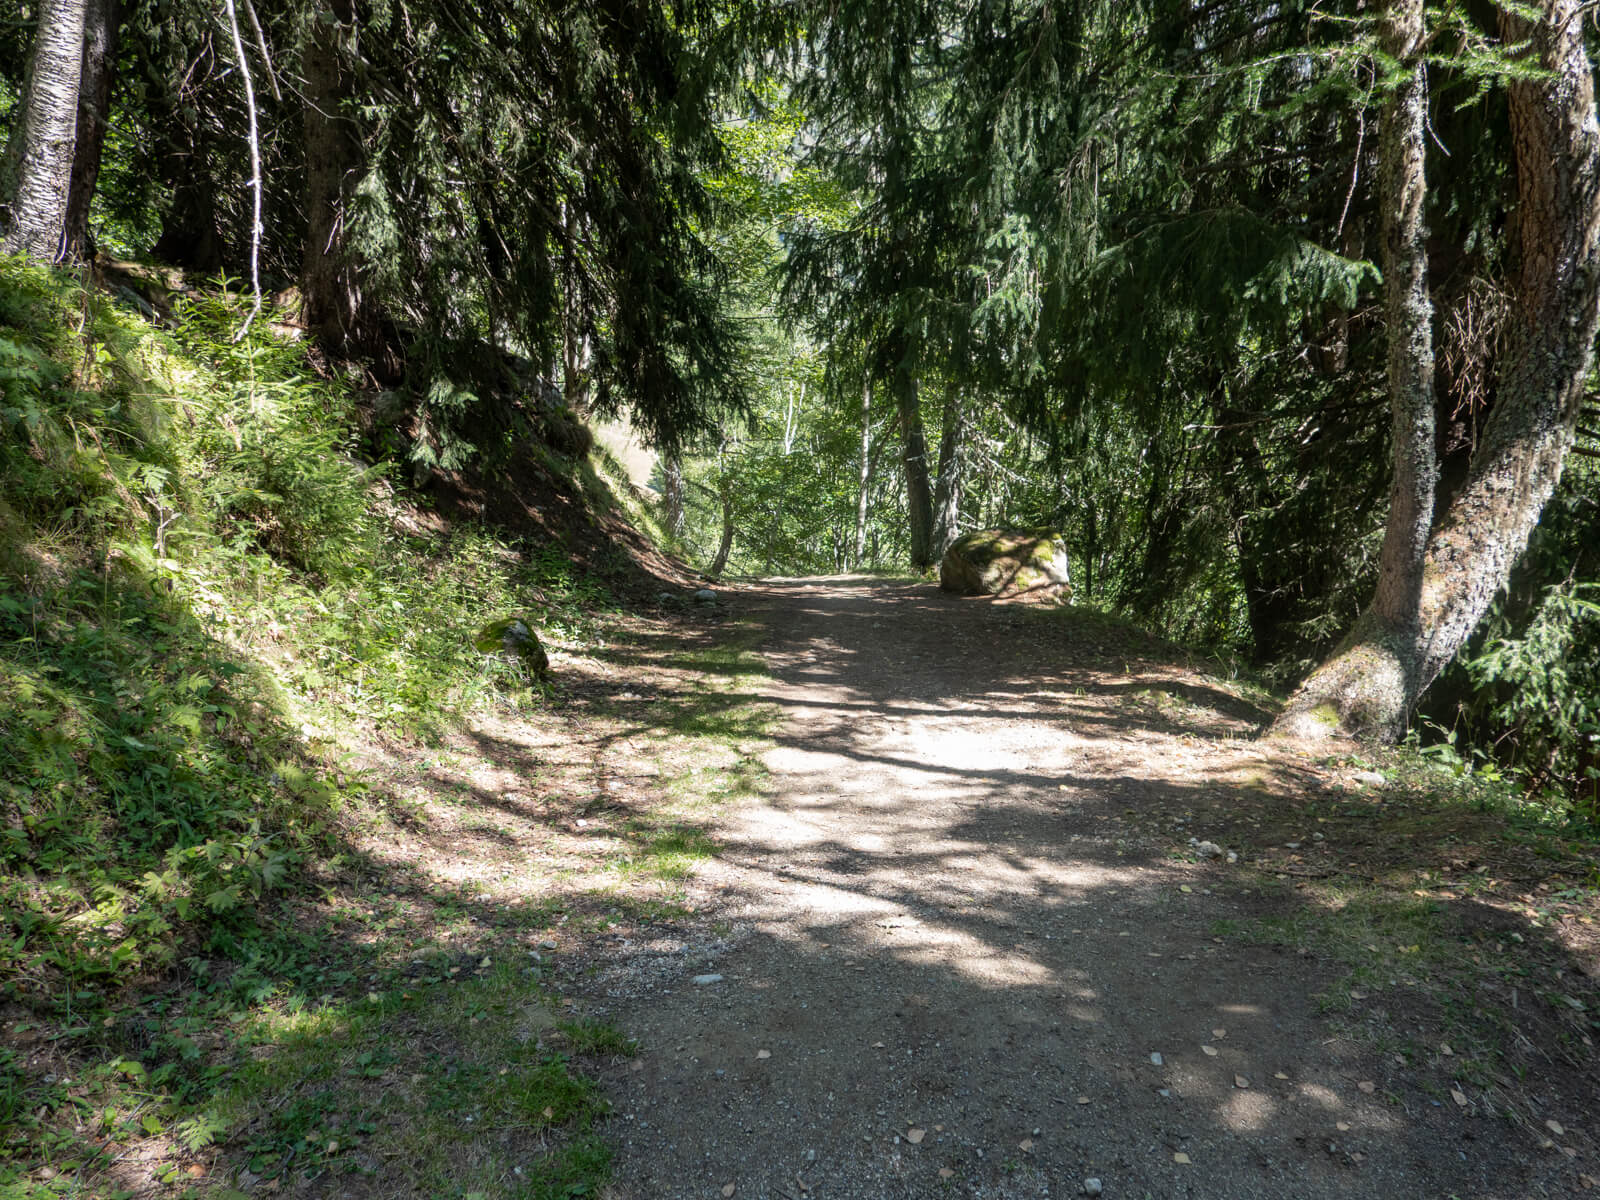
As you lose elevation, the landscape gradually becomes greener, and the path eventually enters forest. It was a nice change after spending most of the hike on exposed mountainside.
I was particularly grateful for the shade here as the afternoon sun had become quite intense, and there hadn’t been much opportunity to escape it since leaving Charamillon.
The trail continues downhill through the forest before eventually bringing you back to Le Tour, completing the circular route.
Best time to hike Aiguillette des Posettes
The best time to hike Aiguillette des Posettes is during the summer and early autumn, when the higher trails are usually free of snow.
I hiked Aiguillette des Posettes in August 2026, and the trail was completely clear of snow. It was a reasonably warm day, and with very little shade above Charamillon, the sun was probably more of a challenge than anything else.
I’d avoid this hike (particularly the ridge) during thunderstorms, strong winds, or poor visibility, regardless of the time of year.
⚠️ Most of the upper route is open mountainside, with very little shelter from the elements. I’d recommend bringing sunscreen, sunglasses, and a hat in summer, as well as an extra layer and a waterproof jacket regardless of the forecast. The weather can change quickly at altitude, so check conditions before setting off and be prepared to turn back if the weather deteriorates. For current conditions, see the Chamonix High Mountain Office.
How difficult is this hike?
I’d rate this hike as moderate to challenging, although most of that difficulty is because of the tough climb at the beginning. You gain a considerable amount of height in a relatively short distance, and I found it pretty tough going.
I was walking so slowly up this section, despite being in good shape. I’d completed the Tour du Mont Blanc just a few days earlier, so I wasn’t exactly unaccustomed to climbing hills!
The good news is that once you reach Charamillon, the gradient flattens out a lot. And, to be fair, you can always take the gondola from Le Tour up to Charamillon. This cuts out the toughest part of the hike. (You can check the Charamillon lift opening times and prices here).
In terms of technicality, there are some rocky sections and minor scrambles on the ridge, although I didn’t find it particularly challenging.
The descent is also quite long, so walking poles are useful if you struggle with downhill hiking.
Thank you for reading! If you found this post useful, I’d be grateful if you would consider using the affiliate links below when planning your travels. I’ll make a small commission at no extra cost to you. This will help me to keep this blog running. Thanks for your support — Lauren.
Accommodation – Booking.com
Flights – Booking.com
Travel insurance – World Nomads
Excursions & tours – Viator
Outdoor gear – Decathlon
eSIMs – Airalo
Alternatively, you could buy me a coffee to say thanks!


About The Author
Lauren Pears is a freelance travel writer and blogger who writes about active adventure travel. She’s been blogging for almost 10 years, and has written for publications such as Lonely Planet, World Nomads, and Southeast Asia Backpacker.