
Hiking the Mist Trail to Vernal and Nevada Falls (Yosemite National Park)

The Mist Trail to Vernal and Nevada Falls is one of the most popular hikes in Yosemite National Park, taking you past two of the park’s most powerful waterfalls in a single outing. The route climbs beside Vernal Fall, continues up to the larger Nevada Fall, and then descends via the John Muir Trail to form a loop.
The name of the trail comes from the spray, or mist, thrown off Vernal Fall. When the waterfall is at full force, the stone steps beside it get soaked, and so will you. That being said, when I hiked it in late July, there was a distinct lack of mist. The falls were still impressive, but the summer waterflow is weaker, and I only got very lightly sprayed. In spring, expect to get properly drenched!
At 6.5 miles with over 2,000 feet of elevation gain, this is not a gentle stroll. The ascent is steep, particularly when climbing the steps beside the waterfalls. That said, the effort feels justified, as you are treated to some seriously impressive views.
During my time in the United States, I visited six national parks across California and the Southwest. Yosemite was my favourite, and the Mist Trail was a real standout. It delivered exactly what I came to Yosemite for: powerful waterfalls, huge granite scenery, and a sense that you’ve really earned the views.
Mist Trail to Nevada Fall: Quick overview
Start/end: Happy Isles (Yosemite Valley).
How to get there: Park in the main Yosemite Valley and walk, or take the free shuttle to Happy Isles.
Distance: 10.6 km (6.5 miles).
Elevation gain: 2,158 ft (658 metres).
Time: 4 – 6 hours.
Difficulty: Strenuous, with steep ascents.
Best time: Spring for peak waterfall flow and cooler temperatures.
Best for: Strong hikers who want an iconic Yosemite experience without needing technical skills. Not ideal if you want to completely avoid crowds or struggle with long, uphill climbs.
Map of the Mist Trail
The Mist Trail is incredibly well sign-posted. I didn’t need to refer to my map the entire time I was on the trail. You just need to follow the signs for Vernal Falls, then Nevada Falls, then join the John Muir Trail and follow the signs back to Happy Isles. Regardless, I always like to save the map to my phone, just in case.
Entry fees & permits
To hike the Mist Trail to Nevada Fall, you’ll need to pay the standard entrance fee for Yosemite National Park. At the time of writing, that’s:
- $35 USD per vehicle (valid for 7 consecutive days)
- $20 USD per person if entering on foot, bike, or motorcycle
- If you’re a foreign visitor, as of January 2026, you now have to pay an additional $100 USD to enter Yosemite
If you’re visiting multiple US national parks within a year, and are a US citizen, the America the Beautiful annual pass ($80 USD) can work out better value.
No hiking permit is required for the Mist Trail. You can simply turn up and walk. The only time you’d need a permit in this area is if you’re continuing beyond Nevada Fall toward Half Dome, which requires a separate and very competitive permit.
One final thing to check before visiting: in peak summer, Yosemite sometimes operates timed entry or vehicle reservation systems. These change from year to year, so it’s worth checking the official park website in the weeks leading up to your visit.
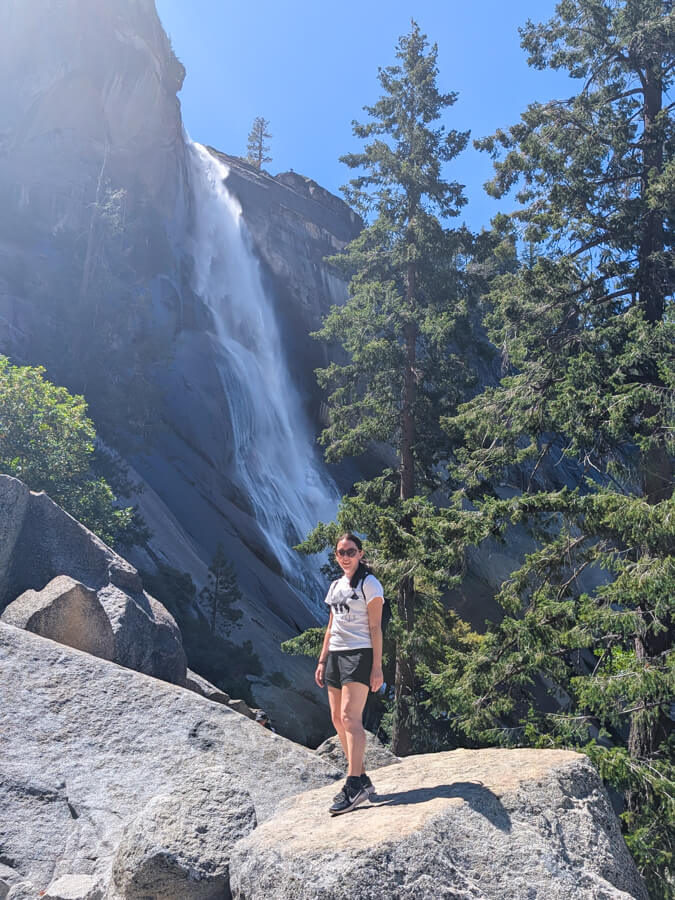
I accidentally left my hiking boots behind and ended up doing the trail in running shoes. It was fine in late July when the mist section was mostly dry, but I wouldn’t fancy it in peak spring flow when the granite steps get wet and slippery. Wear grippy shoes!
How to get to the trailhead
The hike starts at Happy Isles in Yosemite Valley. Logistically, it’s straightforward. The only real complication is how busy Yosemite Valley gets, especially in the summer.
In peak season, parking fills early. When I visited in late July, the valley was already very busy by 10am, so I’d strongly recommend arriving as early as you can.
Most visitors park in one of the main Yosemite Valley parking lots (near Curry Village or Yosemite Village) and either walk or take the free shuttle to the trailhead. For the Mist Trail, you’ll want to get off at the Happy Isles shuttle stop (stop #16). The trailhead is clearly marked from the shuttle stop, so it’s easy to find.
You can view the map of Yosemite Valley’s shuttle system here. The shuttle runs 7am to 10pm daily, with buses every 10-30 minutes.
Step-by-step trail breakdown
1) Happy Isles to Vernal Fall footbridge
From the Happy Isles trailhead, the route starts on a wide, well-made path through the trees. It’s a steady incline straight away, but nothing too strenuous at this stage. You’ll pass plenty of signposts, and you’ll also be sharing the trail with a lot of other people, so navigation is easy.
After roughly a mile, you’ll reach the Vernal Fall Footbridge, which is your first proper viewpoint. Vernal Fall is already impressive from here, and this is also where people who only want a short walk tend to turn around. There are also restrooms and drinking water at the footbridge, if needed.
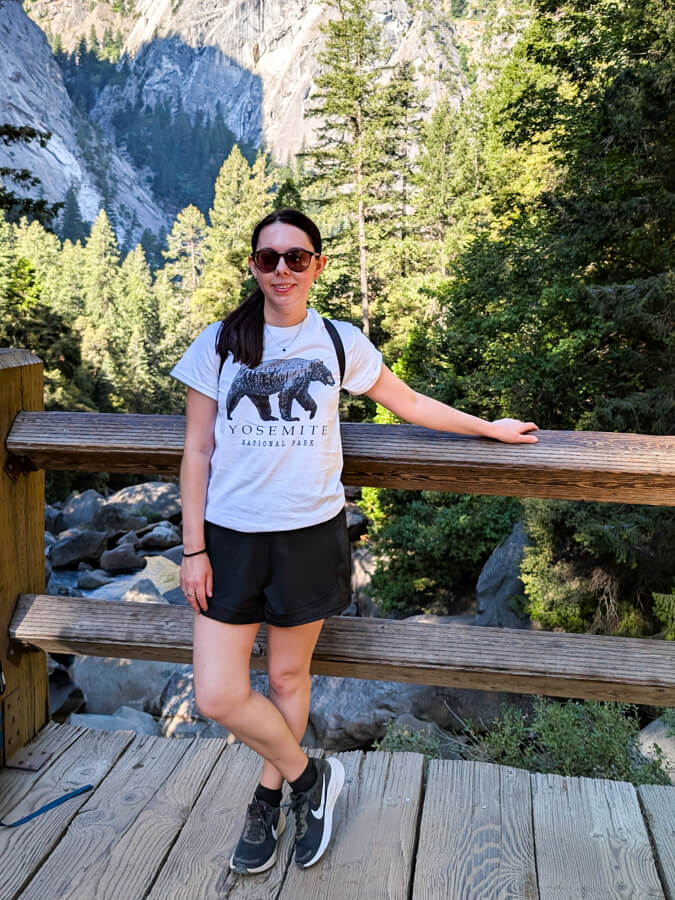
2) Vernal Fall footbridge to the top of Vernal Fall (Mist Trail steps)
This is where the Mist Trail turns into the Mist Trail. The path becomes a steep granite staircase with railings, climbing beside Vernal Fall. This staircase is in the way of the spray from the waterfall, so you will get either lightly misted or completely drenched, depending on the season.
Unfortunately, this part of the hike gets incredibly busy. People are going slowly up the steps, taking lots of photos, and stopping to admire the view. This creates a bit of a queue to the top. Don’t be put off, though, as many people turn back once at the top of Vernal Fall, which means the crowds thin out significantly from then on.
Another quick reality check from my summer hike: despite the name, I barely got misted. The steps were still slick in places (water + smooth granite is always a bad combo), but I didn’t get the full “soaked through in five minutes” experience you hear about in spring.
Take your time here. It’s not technical, but it is a leg-burner, and the crowds slow things down anyway. You’ll eventually pop out at the top of Vernal Fall, where the trail levels off and is flat for a while.
3) Emerald Pool
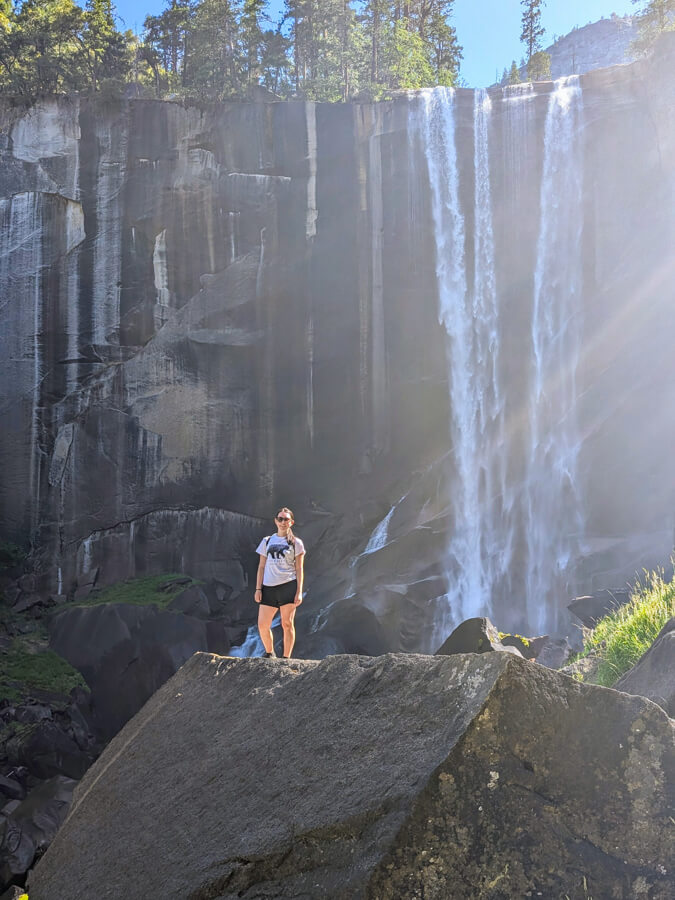
At the top of Vernal Fall, you’ll reach a calm section of the Merced River, referred to as Emerald Pool. We thought this was a good place for a break, so we had a few snacks before continuing on.
Keep in mind that the water is fast-moving here, so don’t be tempted to jump in, unless you’re keen to slide 317 feet down Vernal Fall.

4) Emerald Pool to Nevada Fall
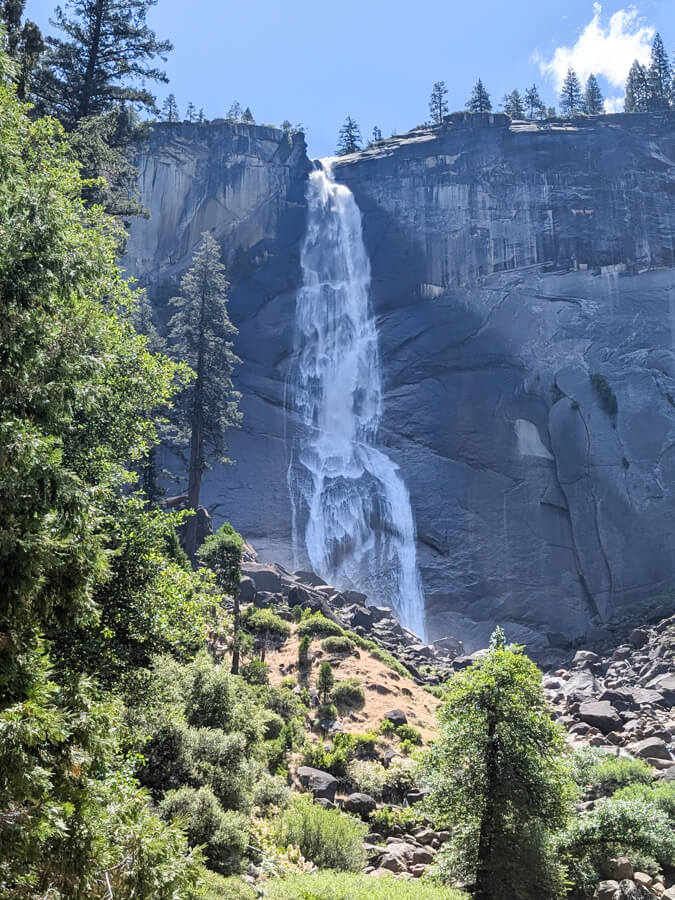
The trail continues towards Nevada Fall. You’ll hear it long before you see it, then catch occasional glimpses through the trees before the view finally opens up properly.
The gradient is fairly steady at first, but it steepens dramatically as you approach the side of the falls. I found the climb here to be the most challenging part of the hike — probably because it was getting quite hot.
5) Top of Nevada Fall
After climbing up the side of Nevada Fall, you’ll eventually reach the main viewpoint area, where the trail flattens out. Your reward for the climb is an expansive vista of granite and greenery.
The area at the top of Vernal Fall is very open, so you can wander around and take in views from different angles. It’s also a great place to stop for a longer break before starting the descent. We spent about 45 minutes here just relaxing by the water.
If you’re feeling fresh, you’ll see signs for routes continuing deeper into the backcountry (and toward Half Dome), but for this loop, Nevada Fall is your high point.
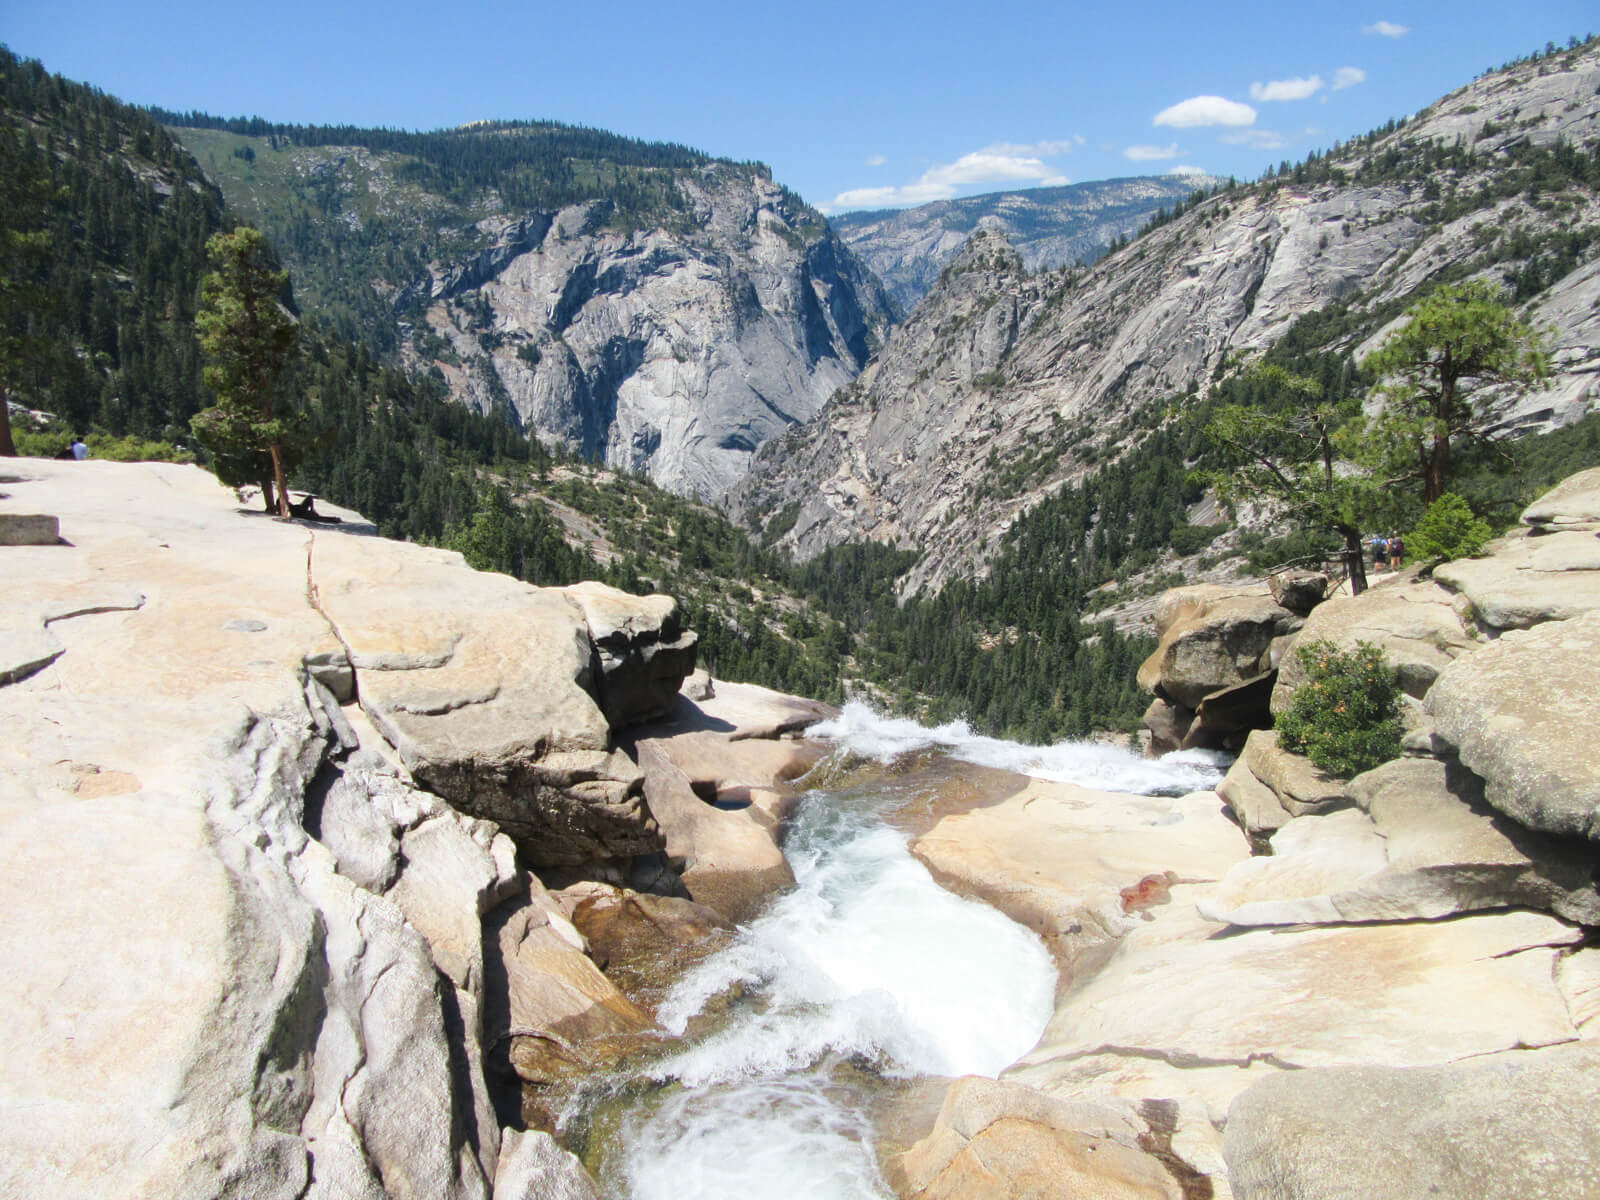
6) Descend via the John Muir Trail
From Nevada Fall, you can turn around and retrace your steps back to Happy Isles, making the hike an out-and-back. Plenty of people do this, perhaps because it’s the shortest and most direct way back to the start. However, I really recommend taking the John Muir Trail down. It’s longer, but the descent is more gradual, and therefore kinder on the knees. It’s also a lot less busy.
From Nevada Fall, continue across from where you arrived to the opposite side of the plateau. Here, you’ll spot the signs for the John Muir Trail.
You’ll drop down a series of long switchbacks with wide-open valley views. There’s an excellent viewpoint less than a mile into the descent, with an incredible view of Liberty Cap and Nevada Fall.
7) Back to Happy Isles
As you descend, keep following signs back toward Happy Isles / Yosemite Valley, and you’ll eventually reconnect with the lower trail network and return to where you started. As you get back onto the lower trail network, you’ll pass by the Vernal Fall Footbridge again, where there are restrooms and drinking water to make use of.
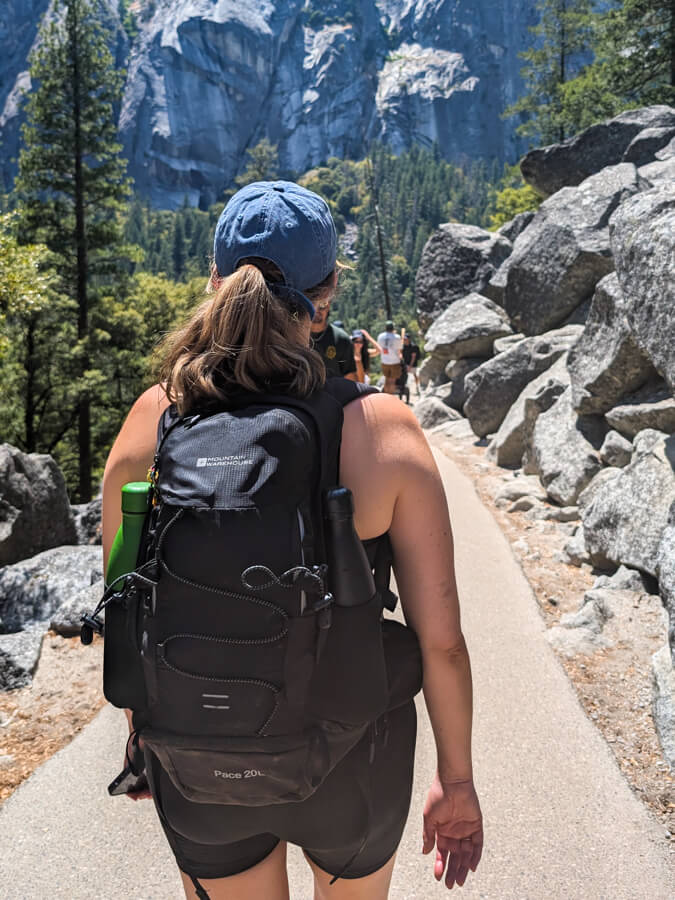
So, is the Mist Trail to Nevada Fall worth the crowds?
In my opinion, absolutely.
Yes, it does get very busy, especially on the steps by Vernal Fall. People need to rest a lot due to the steepness, and people also stop to take photos of the waterfall. It makes this section feel a little chaotic, with what is essentially a queue to the top. BUT, most people seem to turn back once at the top of Vernal Fall, and the crowds thin out significantly from then onwards.
The view from Nevada Fall — and especially the view of Nevada Fall and Liberty Cap from the John Muir Trail — was incredible, and absolutely worth the busyness at the start. That viewpoint on the descent is one of the most impressive I’ve ever seen, and I don’t say that lightly. That stretch alone made the crowded section earlier on feel like a small price to pay.
The earlier you start the hike, the less busy it will be, but you should still expect crowds. But be assured that once past Vernal Fall, both the crowd levels and the views get better and better.
More on California and the Southwest 🥾🏜️
- Check out my Hiking Hub for all hiking content
- The Grand Canyon’s Bright Angel Trail
- The Grand Canyon’s Rim Trail
- The Navajo Loop in Bryce Canyon
- The Emerald Pools Trail in Zion
Thank you for reading! If you found this post useful, I’d be grateful if you would consider using the affiliate links below when planning your travels. I’ll make a small commission at no extra cost to you. This will help me to keep this blog running. Thanks for your support — Lauren.
Accommodation – Booking.com
Flights – Booking.com
Travel insurance – World Nomads
Excursions & tours – Viator
Outdoor gear – Decathlon
eSIMs – Airalo
Alternatively, you could buy me a coffee to say thanks!


About The Author
Lauren Pears is a freelance travel writer and blogger who writes about active adventure travel. She’s been blogging for almost 10 years, and has written for publications such as Lonely Planet, World Nomads, and Southeast Asia Backpacker.


