
The Grand Canyon Rim Trail: A Beautiful, Easy Walk Along the South Rim

The Grand Canyon Rim Trail is one of the easiest ways to explore the canyon. Instead of taking you below the rim, the trail stays above it, following the edge of the South Rim and delivering almost uninterrupted views across the vast, layered landscape.
What I loved about the Rim Trail is that the views are constant, and you barely have to work for them. Most of the path is flat or gently sloping, some sections are fully paved, and you always have the option to hop on a shuttle if you’ve gone further than planned. Basically, the effort-to-reward ratio is very high. It makes the trail accessible to almost everyone.
In this guide, I’ll break down everything you need to know about walking the Grand Canyon Rim Trail, including the best route options and which viewpoints are worth prioritising.
What is the Grand Canyon Rim Trail?
The Grand Canyon Rim Trail is a continuous path that follows the edge of the South Rim, running for roughly 13 miles (21 km) between the South Kaibab Trailhead in the east and Hermits Rest in the west.
Very few people walk the entire thing, although you can, of course, do this. Instead, the Rim Trail works more like a flexible walking route that you can join and leave wherever you like. It passes through Grand Canyon Village, connects many of the main viewpoints, and runs alongside the park’s shuttle routes, which means you can walk a section, then hop on a bus when you’re done.
The trail itself is a mix of paved paths and compact dirt tracks. Some sections feel more like a scenic walkway, especially near the Village, while others become quieter and slightly more natural as you head west along Hermit Road.
Because it stays above the rim, there’s very little elevation gain, no technical terrain, and no real route-finding involved. You’re simply following the edge of the canyon, with near-constant views the entire way.

Note: There was a wildfire on the North Rim while I was in the Grand Canyon. This added a bit of haze from drifting smoke. The views were still incredible, but slightly softer in the distance than usual. This is why my photos look a little hazy.
Rim Trail map
Here’s a map of the Grand Canyon Rim Trail so you can see what it covers.
Entry fees and permits
To walk the Rim Trail, you’ll need to pay the standard Grand Canyon National Park entry fee. At the time of writing, this is $35 per vehicle, valid for seven days. If you’re arriving on foot, by bike, or using the shuttle from Tusayan, the individual entry fee is lower.
If you’re a non-US citizen, you must now pay an additional $100 to enter the Grand Canyon National Park. (As of January 2026).
No permits are required to hike the Rim Trail. As it stays above the rim, you’re free to start whenever you like once you’ve entered the park. Backcountry permits are only needed if you plan to camp overnight below the rim.
If you’re a US citizen visiting several US national parks in one year, the America the Beautiful annual pass is worth considering. It costs $80 and covers entry to every national park in the country, which quickly adds up if you’re visiting more than a couple.
Getting to the start point
One of the best things about the Rim Trail is that there isn’t really a single “starting point.” The path runs along the entire South Rim, so you can join it from multiple points depending on where you’re staying or which section you want to walk.
For most people, Grand Canyon Village is the easiest place to start. The trail runs straight past the Bright Angel Trailhead, nearby viewpoints, and several lodges, so you can quite literally step onto it and start walking in either direction.
If you’re arriving by car, the Grand Canyon Visitor Center is usually the simplest place to park. From there, you can walk straight to Mather Point and join the trail, or hop on the Village Route (blue) shuttle to reach other starting points around the Village.
If you want to explore the quieter western section, towards viewpoints like Hopi Point or Mohave Point, you’ll need to use the Hermits Rest (red) shuttle. Hermit Road is closed to private vehicles for much of the year, so the shuttle is the only way to access that stretch unless you’re walking or cycling.
Overall, the Rim Trail is incredibly flexible. You can start from pretty much anywhere on the South Rim, walk as far as you like, and finish by hopping on a shuttle instead of retracing your steps.
You can check the shuttle map and timetable on the NPS website.

Rim Trail hike options
It’s easy to tailor your walk to the time and energy you have. Below are three route ideas for walks along the trail.
Option 1: A quick 1-hour walk
If you’re short on time or want an easy introduction to the Grand Canyon, this short stretch delivers big views with very little effort.
Start at Mather Point and walk west towards Yavapai Point. This section is fully paved, mostly flat, and packed with classic canyon views. It’s one of the busiest parts of the Rim Trail, but it’s also one of the most impressive, especially if this is your first time seeing the canyon.
This option works well if you’ve just arrived in the park, are travelling with non-hikers, or want something relaxed before or after a longer hike below the rim.
Distance: roughly 1–1.5 miles
Time: around 1 hour, allowing for stops
Option 2: A half-day walk
This is, in my opinion, the sweet spot if you want to properly experience the Rim Trail without turning it into an all-day walk.
Start in Grand Canyon Village near the Bright Angel Trailhead and head west along Hermit Road towards Hopi Point or Mohave Point. As you go, the crowds thin out, the views open up, and the trail starts to feel quieter and more spacious. Some sections are paved, while others are packed dirt paths.
When you’re ready to stop, simply catch the Hermits Rest (red) shuttle back to the Village.
Distance: around 4–6 miles, depending on your turnaround point
Time: 3–4 hours at a relaxed pace
Option 3: The full Rim Trail
If you have the time and want to see the South Rim in its entirety, walking the full Rim Trail is a really rewarding way to do it.
Start at the South Kaibab Trailhead or Mather Point and follow the rim all the way west to Hermits Rest. You’ll move from the busiest viewpoints to the quieter, windswept western end of the park, with constant canyon views along the way.
While the trail isn’t technically difficult, it is long, so pacing yourself and planning shuttle stops makes a big difference. Most people finish at Hermits Rest and take the shuttle back rather than walking both ways.
Distance: roughly 13 miles
Time: 4–5 hours of walking, plus plenty of stops

Viewpoints along the Rim Trail
One of the best things about the Rim Trail is how often the views change. You’re never walking far without another lookout opening up, and each one frames the canyon slightly differently. Here are some of my favourite viewpoints we saw along the Rim Trail:
Mather Point
This is where many people see the Grand Canyon for the very first time. The views are wide, immediate, and dramatic, with the canyon dropping away almost directly in front of you. It’s busy, especially mid-morning, but it’s still worth a stop. If you can, come early or later in the day when the crowds thin slightly.
Yavapai Point
A short walk west of Mather Point, Yavapai feels a little calmer and more spacious. The views stretch deep into the canyon, and the nearby Yavapai Geology Museum adds some context if you want to understand what you’re actually looking at. This is a great viewpoint for big views without the crowds or effort.
Bright Angel Trailhead
Even if you’re not planning to hike below the rim, it’s worth stopping here. Watching hikers begin the descent onto the famous Bright Angel Trail gives you a real sense of how steep and vast the canyon is. From here, the trail feels lively, with lodges, viewpoints, and plenty of places to sit and take it all in. There are also restrooms and water refill stations here.

Powell Point
As you head further west along Hermit Road, the canyon starts to feel more open and layered. Powell Point is a quieter stop with expansive views that really show off the canyon’s depth and colour.
Hopi Point
If you’re after a sunset view, I’d say this is the place. Hopi Point juts out slightly, offering one of the widest panoramas on the South Rim. The light here at the end of the day is incredible, with the canyon walls catching deep reds and oranges as the sun drops. It’s popular, but for good reason.
Mohave Point
Less crowded than Hopi, Mohave Point has a slightly different angle, with dramatic views down to the Colorado River. It feels quieter here, especially if you visit outside peak sunset time.
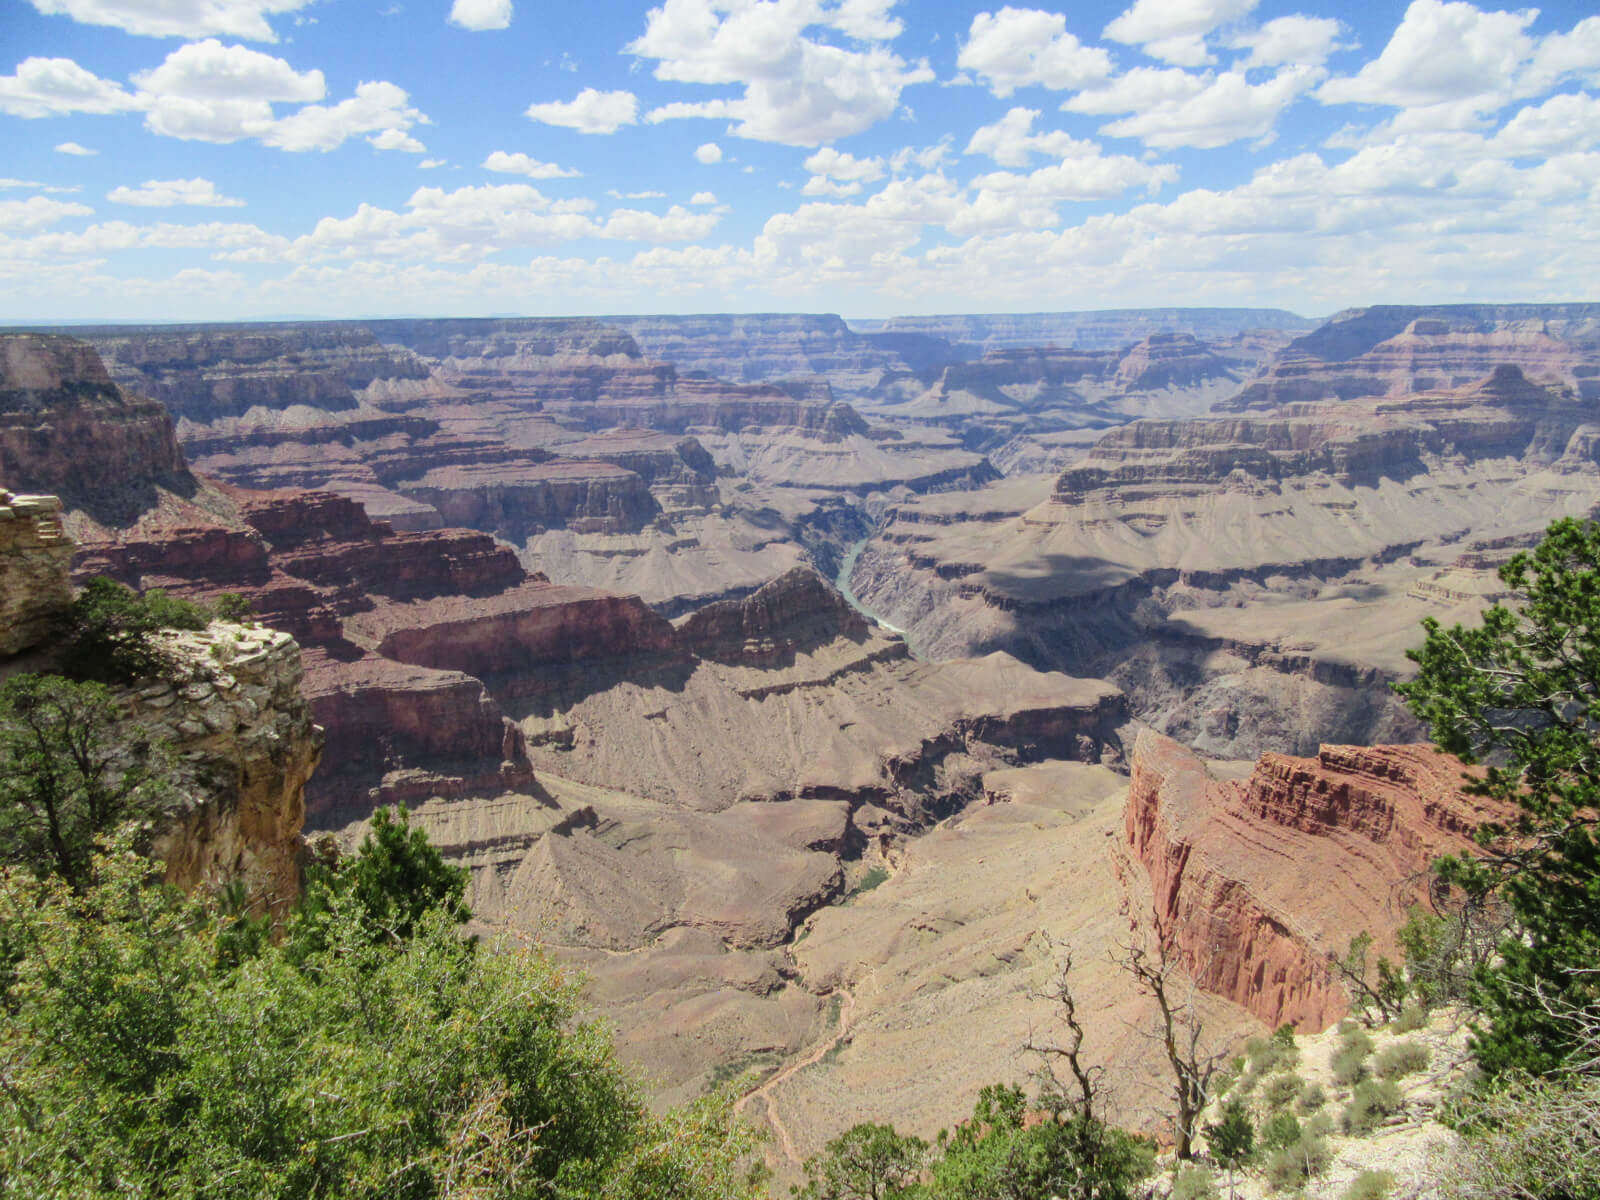
The Abyss
The Abyss is one of the deepest viewpoints on the South Rim. There’s no railing here, which makes it feel more exposed and a little raw compared to the busier stops. When you step up to the edge, the drop feels sudden and immense, and it really drives home just how vast the canyon is.
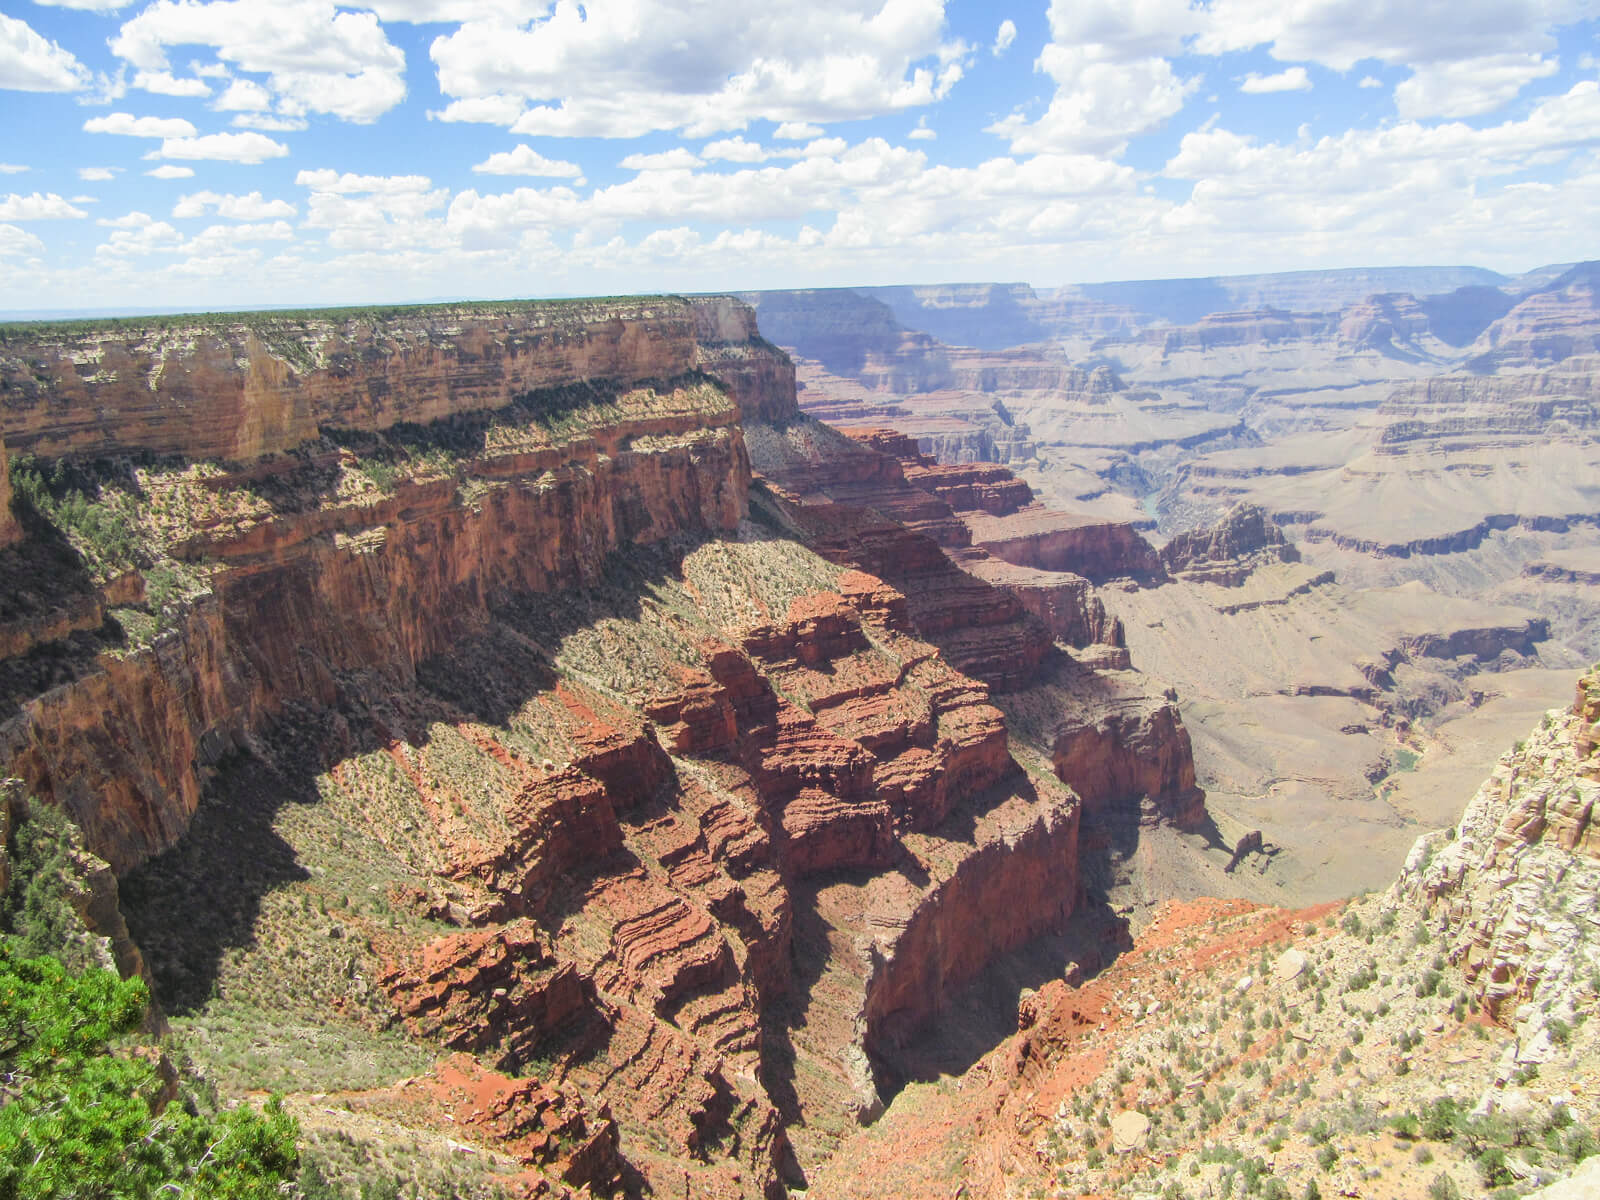
Hermits Rest
At the western end of the Rim Trail, Hermits Rest feels like a natural finishing point. The historic stone building has restrooms, water, and a small snack bar, making it a practical place to end your walk before hopping on the shuttle back. The viewpoints here feel more rugged and exposed, with fewer people around.
More Southwest USA hiking 🥾🏜️
- Check out my Hiking Hub for all hiking content
- The Grand Canyon’s Bright Angel Trail
- Bryce Canyon’s Navajo Loop
- Zion’s Emerald Pools Trail

About The Author
Lauren Pears is a freelance travel writer and blogger who writes about active adventure travel. She’s been blogging for almost 10 years, and has written for publications such as Lonely Planet, World Nomads, and Southeast Asia Backpacker.
Thank you for reading! If you found this post useful, I’d be grateful if you would consider using the affiliate links below when planning your travels. I’ll make a small commission at no extra cost to you. This will help me to keep this blog running. Thanks for your support — Lauren.
Accommodation – Booking.com
Flights – Booking.com
Travel insurance – World Nomads
Excursions & tours – Viator
Outdoor gear – Decathlon
eSIMs – Airalo
Alternatively, you could buy me a coffee to say thanks!


